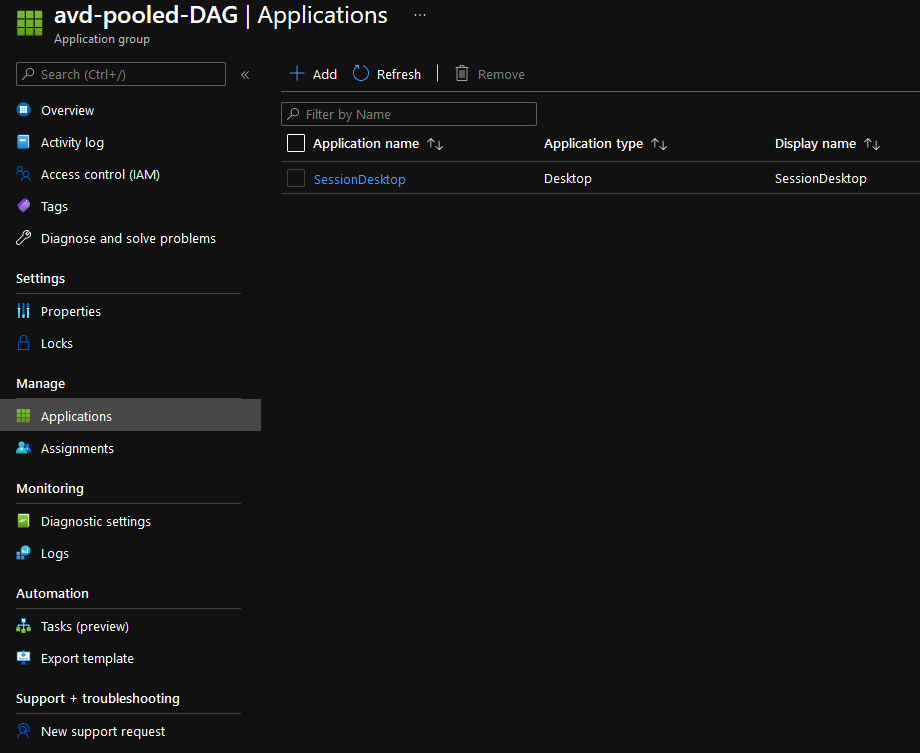
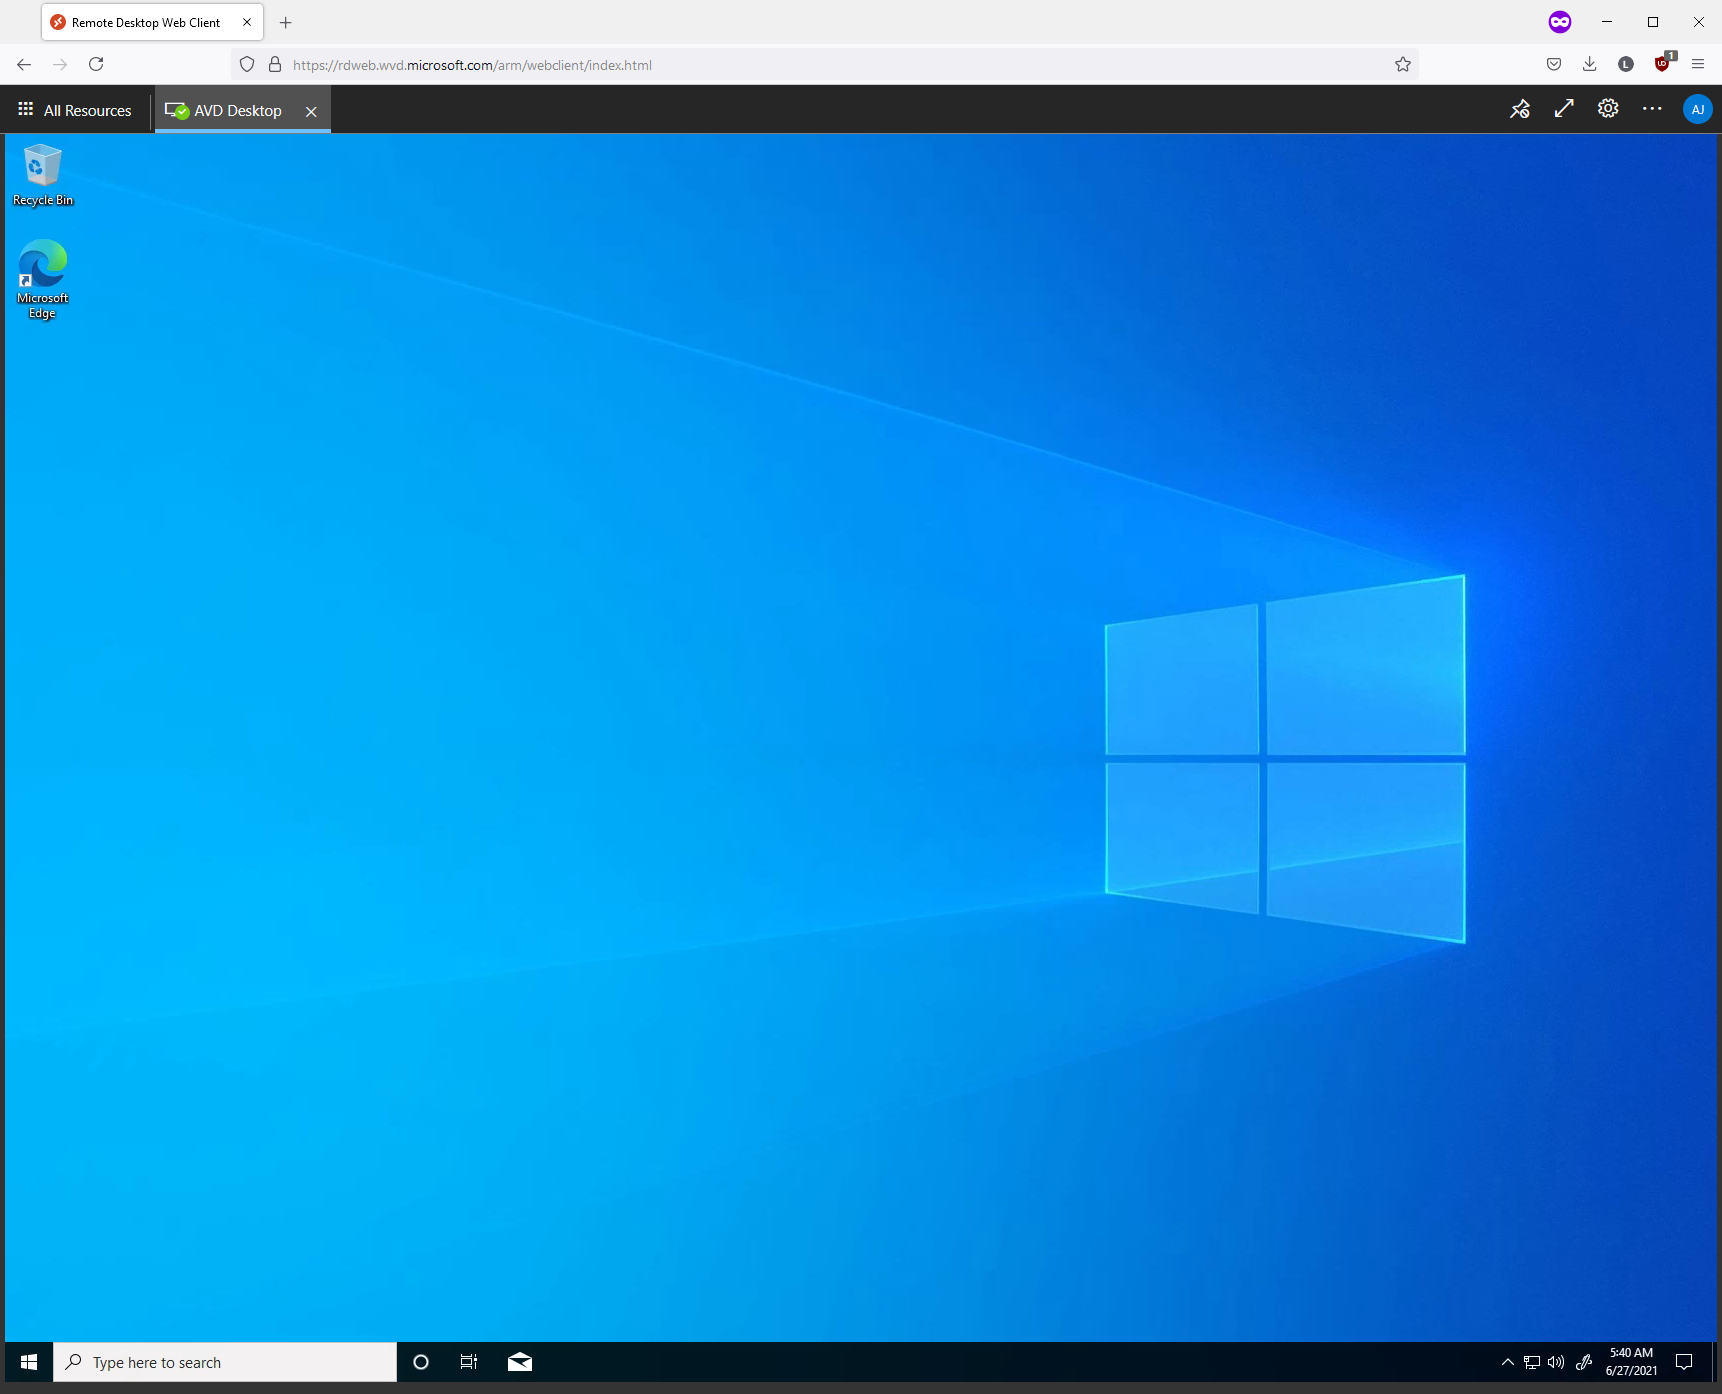
If you are running Azure Virtual Desktop, you want to get the most performance and stability out of them as possible, to reduce cost and increase user experience.
These are a few recommended policies and optimisations to apply to your Azure Virtual Desktop setup. These are in no particular order; they are just recommendations.
Timezone redirection will allow you to pass through the time from the local device to the Azure Virtual Desktop host. This is useful to keep the consistent time between the device you are connecting from and the session host, and by default, the timezone in Azure is UTC.
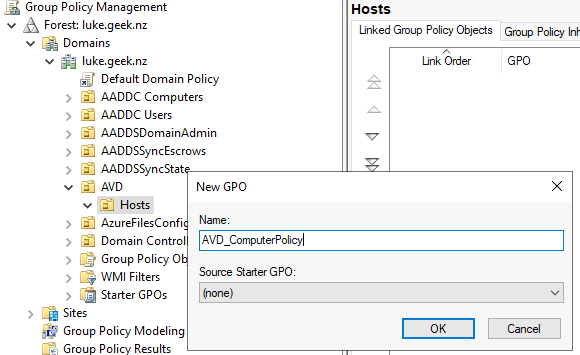
- On a server with the Group Policy Management Console is installed for managing your Azure Virtual Desktop farm, open the Group Policy Management Console.
- Expand your domain and Group Policy Objects.
- Right-click the GPO that you created for the group policy settings and select Edit.
- In the Group Policy Management Editor, navigate to Computer Configuration > Policies > Administrative Templates > Windows Components > Remote Desktop Services > Remote Desktop Session Host > Device and Resource Redirection.
- Enable the setting Allow time zone redirection.
- Close the Group Policy Management console; as this is a Computer-based policy, it may take up to 90 minutes to take effect unless the session hosts are restarted to force it to pick up the policy sooner.
You can use this policy to specify the maximum amount of time that a disconnected session remains active on the server. By default, Remote Desktop Services allows users to disconnect from a Remote Desktop Services session without logging off and ending the session. Unfortunately, this means that sessions users sessions may remain open for an extended period of time, taking up usable resources.
When configuring these, take into consideration a users normal work time, the time they have for lunch etc., the sweet spot to disconnect their session is not during their lunch break, but after they have finished for the day, usually 8-12 hours is recommended, but is dependant on how Azure Virtual Desktop is used.
- On a server with the Group Policy Management Console is installed for managing your Azure Virtual Desktop farm, open the Group Policy Management Console.
- Expand your domain and Group Policy Objects.
- Right-click the GPO that you created for the group policy settings and select Edit.
- In the Group Policy Management Editor, navigate to Computer Configuration > Policies > Administrative Templates > Windows Components > Remote Desktop Services > Remote Desktop Session Host > Session Time Limits.
- Configure the below settings per your organisation policies:
- Set time limit for active but idle Remote Desktop Services sessions
- This policy allows you to specify the maximum amount of time that an active Remote Desktop Services session can be idle (without user input) before it is automatically disconnected.
- Set time limit for active Remote Desktop Services sessions
- This policy allows you to specify the maximum amount of time that a Remote Desktop Services session can be active before it is automatically disconnected.
- Set time limit for disconnected sessions
- This policy allows you to configure a time limit for disconnected Terminal Services sessions.
- End session when time limits are reached
- This policy allows you to specify whether to terminate a timed-out Terminal Services session instead of disconnecting it.
- Set a time limit for log off of RemoteApp sessions
- This policy allows you to specify how long a user's RemoteApp session will remain in a disconnected state after closing all RemoteApp programs before the session is logged off from the RD Session Host server.
- Close the Group Policy Management console; as this is a Computer-based policy, it may take up to 90 minutes to take effect unless the session hosts are restarted to force it to pick up the policy sooner.
Reference: Taken from: https://kb.parallels.com/en/123638
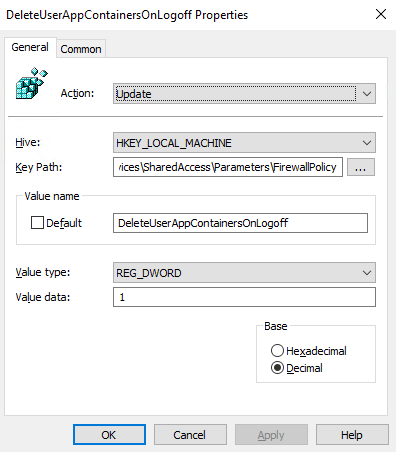
DeleteUserAppContainersOnLogoff
Back in March 2019, there were issues with slow server performance caused by numerous Windows Firewall Rules getting created on user login. A patch was released; however, to enable this 'fix', a registry key needs to be set. You could eventually run into host performance/hang issues if this key is not configured. See: https://support.microsoft.com/en-us/help/4490481
- On a server with the Group Policy Management Console is installed for managing your Azure Virtual Desktop farm, open the Group Policy Management Console.
- Expand your domain and Group Policy Objects.
- Right-click the GPO that you created for the group policy settings and select Edit.
- In the Group Policy Management Editor, navigate to Computer Configuration > Preferences> Windows Settings > Registry.
- Right-click in the window and select New, Registry Item
- Select Update as the Action
- Make sure HKEY_LOCAL_MACHINE is set to Hive
- Enter in the following for the Key Path: SYSTEM\CurrentControlSet\Services\SharedAccess\Parameters\FirewallPolicy
- For the Value name type: DeleteUserAppContainersOnLogoff
- Change the Value type to REG_DWORD
- Put: '1' to enable the option and click Apply
- Close the Group Policy Management console. As this is a Computer-based policy, it may take up to 90 minutes to take effect unless the session hosts are restarted to force it to pick up the policy sooner.
RDP Shortpath is a feature of Azure Virtual Desktop that establishes a direct UDP-based transport between Remote Desktop Client and Session host. RDP uses this transport to deliver Remote Desktop and RemoteApp while offering better reliability and consistent latency. RDP Shortpath establishes the direct connectivity between Remote Desktop client and Session Host. Direct connectivity reduces the dependency on the Azure Virtual Desktop gateways, improves the connection's reliability, and increases the bandwidth available for each user session. You can read more about it here: Azure Virtual Desktop RDP Shortpath.
- On a server with the Group Policy Management Console is installed for managing your Azure Virtual Desktop farm, open the Group Policy Management Console.
- Expand your domain and Group Policy Objects.
- Right-click the GPO that you created for the group policy settings and select Edit.
- In the Group Policy Management Editor, navigate to Computer Configuration > Preferences> Windows Settings > Registry.
- Right-click in the window and select New, Registry Item
- Select Update as the Action
- Make sure HKEY_LOCAL_MACHINE is set to Hive
- Enter in the following for the Key Path: SYSTEM\CurrentControlSet\Control\Terminal Server\WinStations
- For the Value name type: fUseUdpPortRedirector
- Change the Value type to REG_DWORD
- Put: '1' to enable the option and click Apply
- Right-click in the window and select New, Registry Item
- Select Update as the Action
- Make sure HKEY_LOCAL_MACHINE is set to Hive
- Enter in the following for the Key Path: SYSTEM\CurrentControlSet\Control\Terminal Server\WinStations
- For the Value name type: UdpPortNumber
- Change the Value type to REG_DWORD
- Put: '3390' as the UDP report and click Apply
- Close the Group Policy Management console. Restart the session hosts.
Automatically apply a range of optimisations for pooled and personal Azure Desktop hosts, this is a good resource to add to your initial image creation builds.
Virtual-Desktop-Optimization-Tool
Implement Windows Defender FSLogix exclusions
Make sure to configure antivirus exclusions for FSLogix Profiles.
For a list of exclusions, along with a PowerShell script to implement them, please refer to the following Microsoft documentation: FSLogix for the enterprise
Implement FSLogix Profile Exclusions
By default, FSLogix will capture a lot of user profile data, including Teams Cache, Chrome cache and save it to the profile VHD/VHDX; this causes profile size bloat and can decrease the performance of your applications.
It is recommended to implement exclusions to reduce storing user profile data that you don't need.
- On a server with the Group Policy Management Console is installed for managing your Azure Virtual Desktop farm, open the Group Policy Management Console.
- Expand your domain and Group Policy Objects.
- Right-click the GPO that you created for the group policy settings and select Edit.
- In the Group Policy Management Editor, navigate to Computer Configuration > Policies > Administrative Templates > FSLogix > Profile Containers > Advanced
- Enable the setting Provide RedirXML file to customize directions.
- Point the path to a UNC path that is accessible to all session hosts that contains are 'redirections.xml' file. This just needs the folder; it will automatically pick up the redirections.xml file.
- Close the Group Policy Management console. As this is a Computer-based policy, it may take up to 90 minutes to take effect unless the session hosts are restarted to force it to pick up the policy sooner.
An example redirections.xml can be found here:
redirections.xml
<?xml version="1.0" encoding="UTF-8"?>
<FrxProfileFolderRedirection ExcludeCommonFolders="0">

<Excludes>
<Exclude>AppData\Local\Google\Chrome\User Data\Default\Cache\</Exclude>
<Exclude>AppData\Local\Google\Chrome\User Data\Default\Cached Theme Images\</Exclude>
<Exclude>AppData\Roaming\Google\Chrome\UserData\Default\Code Cache\js</Exclude>
<Exclude>AppData\Local\Google\Chrome\UserData\Default\Code Cache\js</Exclude>
<Exclude>AppData\Local\Mozilla\Firefox</Exclude>
<Exclude Copy="0">AppData\Local\Microsoft\Terminal Server Client</Exclude>
<Exclude Copy="0">AppData\Local\Microsoft\Edge SxS\User Data\Default\Cache</Exclude>
<Exclude>AppData\Roaming\Adobe\Flash Player\AssetCache</Exclude>
<Exclude>AppData\Roaming\Adobe\Flash Player\NativeCache</Exclude>
<Exclude>AppData\Roaming\Microsoft\Teams\Cache</Exclude>
<Exclude>AppData\Roaming\Microsoft\Teams\Service Worker\CacheStorage</Exclude>
<Exclude>Desktop</Exclude>
<Exclude>Documents</Exclude>
<Exclude>Downloads</Exclude>
<Exclude>Musics</Exclude>
<Exclude>Pictures</Exclude>
<Exclude>Videos</Exclude>
</Excludes>

<Includes>
<Include Copy="3">AppData\LocalLow\Sun\Java\Deployment\security</Include>
<Include>AppData\Roaming\Google\Chrome\User Data\Default\Extensions</Include>
</Includes>

</FrxProfileFolderRedirection>
Note: Make sure you test and adjust this for your own environment. The Desktop/Documents have been excluded as the assumption is these are redirected or covered by OneDrive.
DeleteUserAppContainersOnLogoff
Back in March 2019, there were issues with slow server performance caused by numerous Windows Firewall Rules getting created on user login. A patch was released; however, to enable this 'fix', a registry key needs to be set. You could eventually run into host performance/hang issues if this key is not configured. See: https://support.microsoft.com/en-us/help/4490481
- On a server with the Group Policy Management Console is installed for managing your Azure Virtual Desktop farm, open the Group Policy Management Console.
- Expand your domain and Group Policy Objects.
Implement Storage Sense
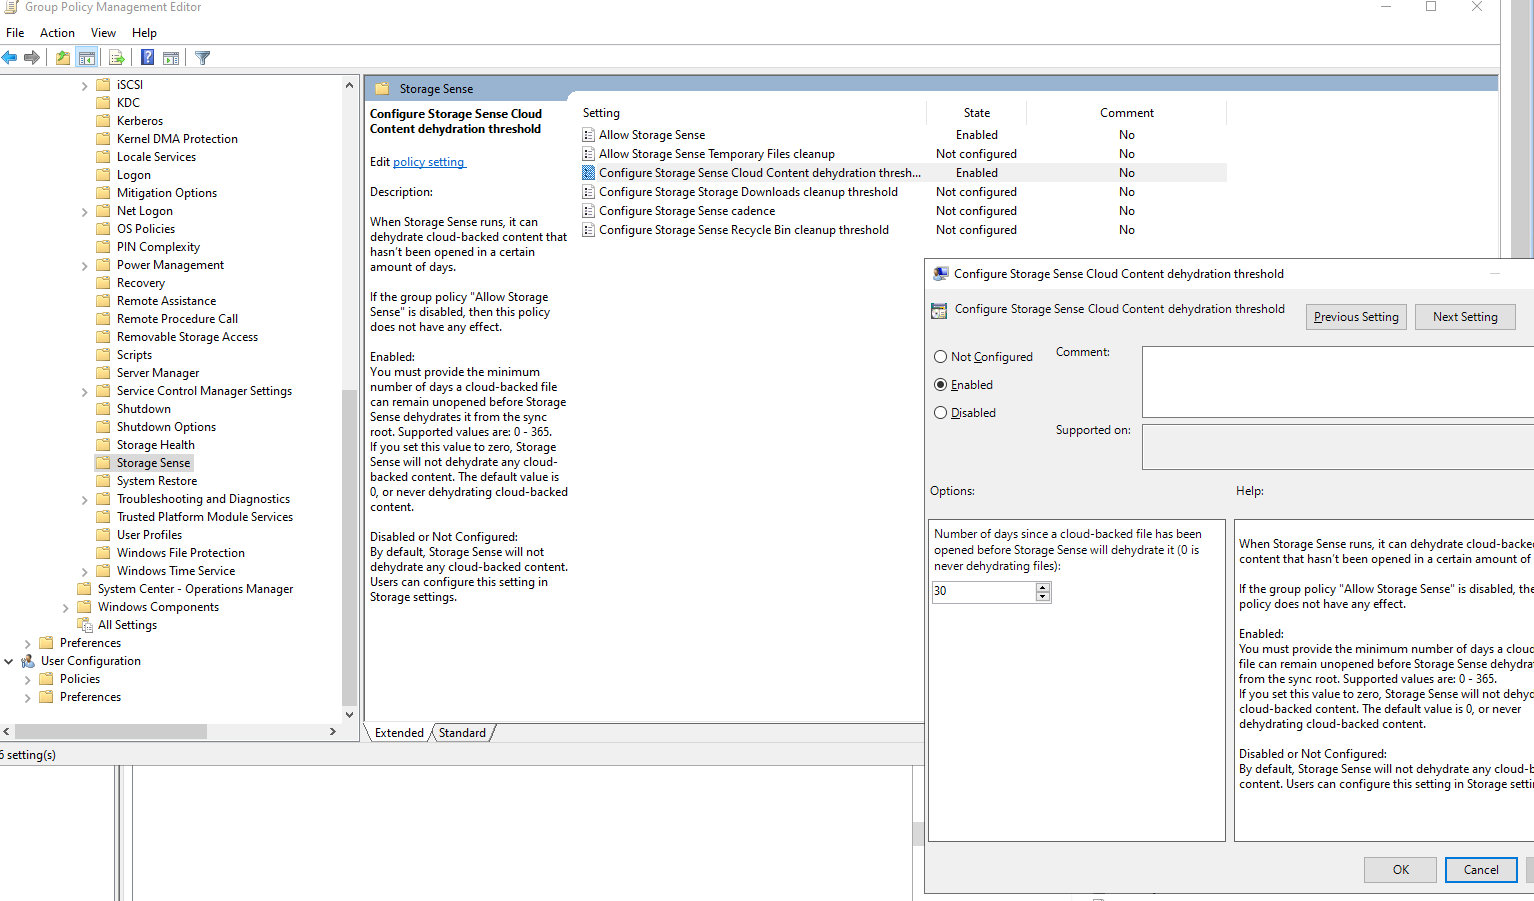
On Windows 10, Storage sense is a built-in tool designed to free up space automatically. When it's enabled, the feature monitors your device. When it's running low on space, it deletes temporary files, empties the Recycle Bin, cleans up the Downloads folder, removes previous installation files, and more to make space to install new updates or store more important data. Storage Sense can also help dehydrate files that are available locally and do not need to be stored locally anymore, helping to reduce profile space and OneDrive processing.
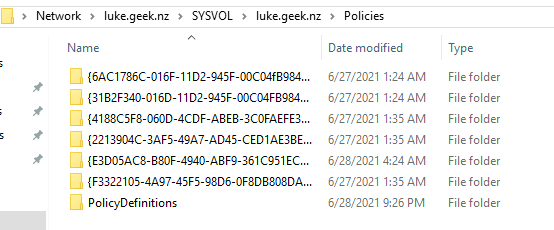
Note: If you find that Storage Sense is missing, it is because it is mainly a client setting and may be missing from the Windows Server; you can copy the PolicyDefinitions folder from an Azure Virtual Desktop host to your domains Central Store, i.e. in my case \\luke.geek.nz\SYSVOL\luke.geek.nz\Policies\PolicyDefinitions. Or just look for StorageSense.admx and StorageSense.adml and copy it (the ADML goes in the language directory, i.e. en-US).
- On a server with the Group Policy Management Console is installed for managing your Azure Virtual Desktop farm, open the Group Policy Management Console.
- Expand your domain and Group Policy Objects.
- Right-click the GPO that you created for the group policy settings and select Edit.
- In the Group Policy Management Editor, navigate to Computer Configuration > Policies > Administrative Templates > System > Storage Sense.
- Enable the setting Allow Storage Sense.
- Enable the setting Configure Storage Sense Cloud Content dehydration threshold
- Now we can provide the minimum number of days a cloud-backed file can remain unopened before Storage Sense dehydrates it back to Files on Demand, for example, 30 days since it was last accessed.
- Enable the setting Configure Storage Storage Downloads cleanup threshold
- Type in a minimum number of days, that files sit in the Downloads before before Storage sense will delete it.
- Close the Group Policy Management console. As this is a Computer-based policy, it may take up to 90 minutes to take effect unless the session hosts are restarted to force it to pick up the policy sooner.
You can run Microsoft Teams in Azure Virtual Desktop. To do so, you need to install as a Machine installer and set the WVD environment variable.
Install as Machine:
msiexec /i Teams_windows_x64 /l*v teams_install.log ALLUSER=1
Set IsWVDEnvironment key:
- On a server with the Group Policy Management Console is installed for managing your Azure Virtual Desktop farm, open the Group Policy Management Console.
- Expand your domain and Group Policy Objects.
- Right-click the GPO that you created for the group policy settings and select Edit.
- In the Group Policy Management Editor, navigate to Computer Configuration > Preferences> Windows Settings > Registry.
- Right-click in the window and select New, Registry Item
- Select Update as the Action
- Make sure HKEY_LOCAL_MACHINE is set to Hive
- Enter in the following for the Key Path: SOFTWARE\Microsoft\Teams
- For the Value name type: IsWVDEnvironment
- Change the Value type to REG_DWORD
- Put: '1' to enable the option and click Apply
- Close the Group Policy Management console. Restart the session hosts.
Install the Remote Desktop WebRTC Redirector
- The Remote Desktop WebRTC Redirector onto the Sessions Hosts: https://learn.microsoft.com/en-us/azure/virtual-desktop/teams-on-AVD#install-the-teams-websocket-service
When users may go to logoff, open applications may halt or prolong the logoff process and prompts for users to close applications, this can leave to sessions being left connected, if a user hits logoff or shutdown and walks away. To stop the prompt about open Applications we need to set a registry key - this is not an 'optimisation' to be treated lightly, as it won't ask users to double check some of the apps they have open, as soon as they hit the logoff button - that it is, any open apps will be closed!
- On a server with the Group Policy Management Console is installed for managing your Azure Virtual Desktop farm, open the Group Policy Management Console.
- Expand your domain and Group Policy Objects.
- Right-click the GPO that you created for the group policy settings and select Edit.
- In the Group Policy Management Editor, navigate to User Configuration > Preferences> Windows Settings > Registry.
- Right-click in the window and select New, Registry Item
- Select Update as the Action
- Make sure HKEY_CURRENT_USER is set to Hive
- Enter in the following for the Key Path: Control Panel\Desktop
- For the Value name type: AutoEndTasks
- Change the Value type to REG_SZ
- Put: '1' to enable the option and click Apply
- Close the Group Policy Management console. Restart the session hosts.
This is a user-based policy, so will take effect on next logon.
This is not so much of an optimization, but it is one of my favourite group policy configurations, something I implement in server base policies; it prevents that "Oops!" moment when someone clicks Shutdown on a server, especially with multi-session VDI machines, this just removes the shortcuts to shutdown and restart the server from the Start Menu.
Note: You can still restart and shut down the server from the Command Prompt with the 'shutdown' command.
- On a server with the Group Policy Management Console is installed for managing your Azure Virtual Desktop farm, open the Group Policy Management Console.
- Expand your domain and Group Policy Objects.
- Right-click the GPO that you created for the group policy settings and select Edit.
- In the Group Policy Management Editor, navigate to User Configuration > Policies > Administrative Templates > Start Menu and Taskbar
- Enable the setting Remove and prevent access to Shut Down, Restart, Sleep, and Hibernate commands.
- Close the Group Policy Management console; as this is a User-based policy, it should take effect on the next user login.
 .
.







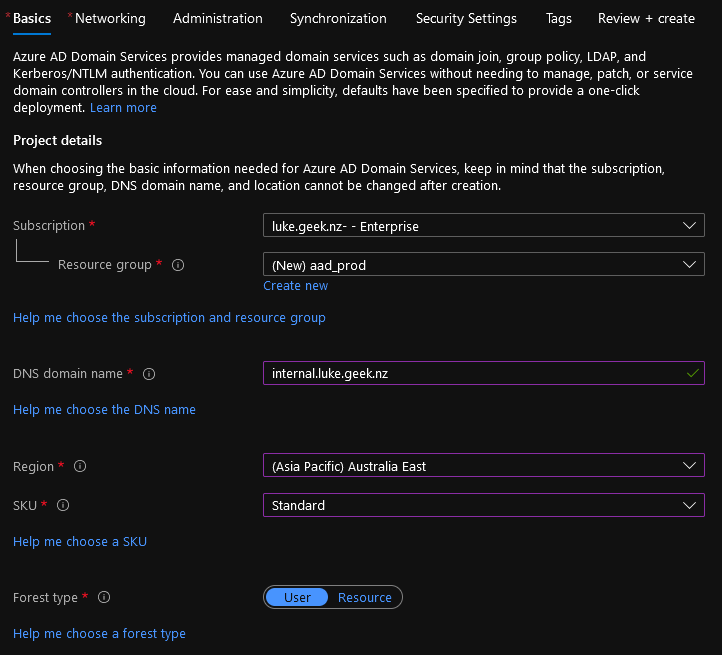
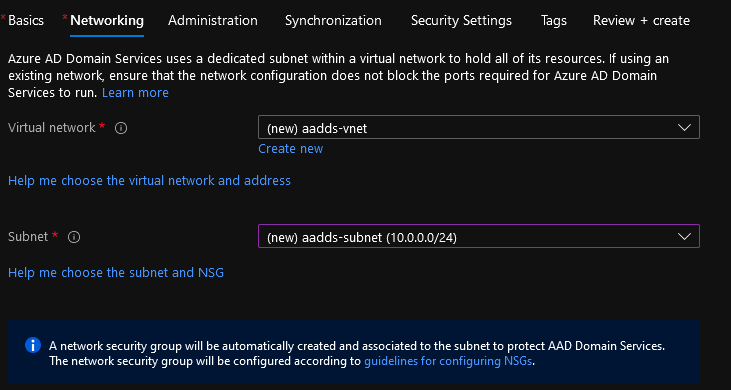
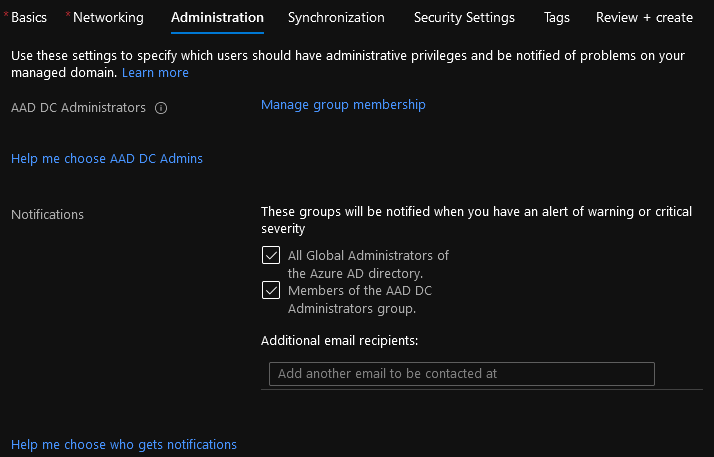
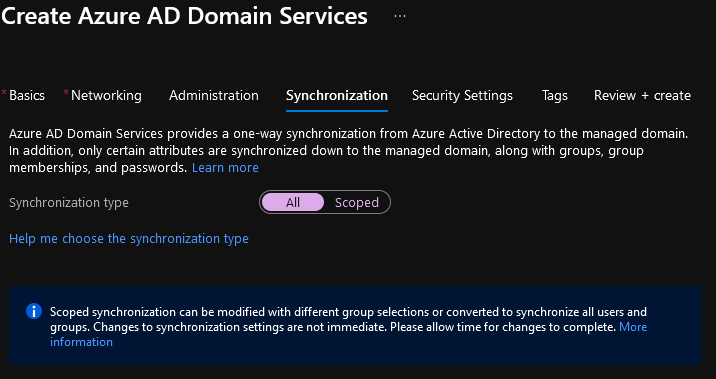
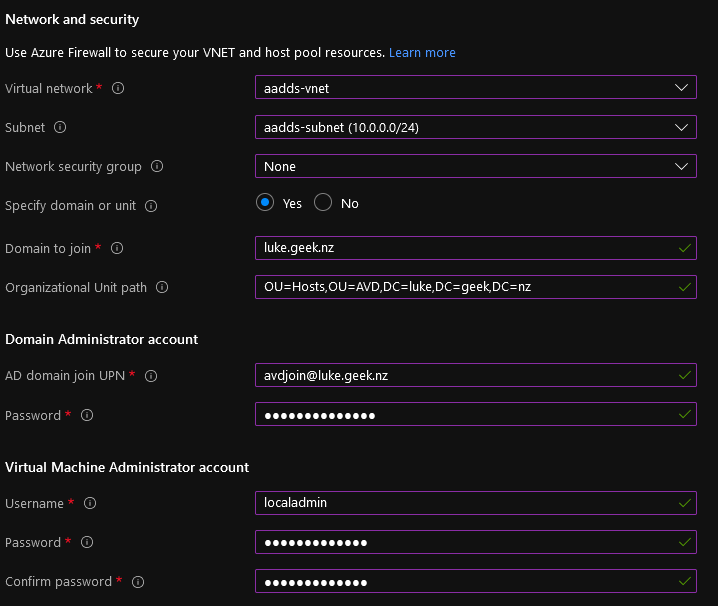
 Note: Azure AD Domain Services can take up to an hour to provision.
