Organising your cloud workloads to support governance, operational management, and accounting requirements can take a lot of effort before the first resource is created.
Well-defined naming and metadata tagging conventions help to locate and manage resources quickly. These conventions also help associate cloud usage costs with business teams via chargeback and show-back accounting mechanisms, along with rapidly identifying what services are used across services.
A useful naming convention composes resource names from important information about each resource. A well-chosen name helps you quickly identify the resource's type, associated workload, deployment environment, and the Azure region hosting it. Some resource names, such as PaaS services with public endpoints or virtual machine DNS labels, have global scopes, so they must be unique across the Azure platform.
There's no one size fits Azure naming convention; it needs to suit your organisation. However, it is worth noting that there are limitations to naming rules for Azure resources.
With rules around naming resources that are Global, specific to Resource Groups or that have maximum character limits that can't contain specific characters - it can become a project on its own, the world of Cloud where resources are treated as cattle and not pets - the effort to develop a proper naming convention, used across teams or even companies can be quite complex.
This is where the Azure Naming Tool, as part of the Microsoft Cloud Adoption framework, comes into play.
Overview
The Naming Tool (v2 as of June 2022) was developed using a naming pattern based on Microsoft's best practices. Once the organisational components have been defined by an administrator, users can use the tool to generate a name for the desired Azure resource.
![Azure [naming-tool]](/assets/images/azurenamingtoollogo-988ade636a1de804bd46948462c4e980.png "Azure [naming-tool]")
This tool sitting in the Azure Naming Tool GitHub repository runs as a standalone Web (.NET 6 Blazor application) application using stateless JSON files for its Configuration and offers users the ability to generate and customise their own Microsoft Azure Naming convention taking all the restrictions into account. In addition, Azure Naming Tool - also provides a Swagger API that can be used in your Infrastructure as Code deployments to generate the names of resources on the fly.

This information is straight from the project README.md:
Project Components
- UI/Admin
- API
- JSON configuration files
- Dockerfile
Important Notes
The following are important notes/aspects of the Azure Naming Tool:
- The application is designed to run as a stand-alone solution, with no internet/Azure connection.
- The application can be run as a .NET 6 site, or as a Docker container.
- The site can be hosted in any environment, including internal or in a public/private cloud.
- The application uses local JSON files to store the configuration of the components.
- The application requires persistent storage. If running as a container, a volume is required to store configuration files.
- The application contains a repository folder, which contains the default component configuration JSON files. When deployed, these files are copied to the settings folder.
- The Admin interface allows configurations to be "reset", if needed. This process copies the configuration from the repository folder to the settings folder.
- The API requires an API Key for all executions. A default API Key (guid) will be generated on first launch. This value can be updated in the Admin section.
- On first launch, the application will prompt for the Admin password to be set.
Deployment
Prerequisites
Today, we will deploy the Azure Naming Tool into an Azure WebApp, running as a Container.
The Azure resources we will create are:
You need Contributor rights in at least a Resource Group to deploy these Azure resources.
We will be using a mix of services such as:
To reduce the need to set up these dependencies on individual workstations, we will use a mix of the Azure Cloud Shell and Azure Portal. If you haven't set up your Azure Cloud Shell, you can refer to an article I wrote previously "here" for this remainder of this article I am going to assume you have it set up already.
Note: I will connect to the Cloud Shell using the Windows Terminal so that any screenshots will be of the Terminal, but it's the same behaviour if I used the browser experience.
Clone the Git Repository
Now is time to clone the git repository into our Cloud Shell so that we can build the docker image definition.
-
Log in to the Microsoft Azure Portal and open up the Azure Cloud Shell (make sure you are in PowerShell (not Bash)).
-
Run the following commands and wait for the Repository to be cloned directly into the CloudShell virtual instance:
git clone https://github.com/mspnp/AzureNamingTool

Create Resource Group & Azure Container Registry
Now that we have our Repository, it's time to create our Resource Group and Container Registry (Public); we will use a few PowerShell cmdlets to develop the resources; make sure you change the name of your Container Registry and Resource Group to match your environment.
- Log in to the Microsoft Azure Portal and open up the Azure Cloud Shell (make sure you are in PowerShell (not Bash)).
- Run the following commands to create the Resource Group and the Azure Container Registry:
Remember to change the name of the Container Registry - this is a globally unique resource, so if someone else has already created a registry with the same name, yours won't deploy.
   $ResourceGroup = New-AzResourceGroup -Name 'AzNamingTool-PROD-RG' -Location 'Australia East'
   $registry = New-AzContainerRegistry -ResourceGroupName 'AzNamingTool-PROD-RG' -Name "ContainerRegistryAzNamingTool" -EnableAdminUser -Sku Basic
   Connect-AzContainerRegistry -Name $registry.Name

Build your image to the Azure Container Registry
The Azure Container Registry will be stored to host and build your image definition, as Docker support is not native to the Azure Cloud Shell; now that we have created it is time to build the image and push it to the registry. Ensure you are in the AzNamingTool folder (CloudAdoptionFramework/ready/AzNamingTool/).
-
Run the following Azure CLI command:
az acr build --image azurenamingtool:v1 --registry $registry.Name --file Dockerfile .
Deploy Azure App Service and WebApp
For the following, we will use a mix of Azure Bicep and the Azure Portal (I ran into an Access Key error and PowerShell issue when attempting to map the share using Bicep and PowerShell - if you managed to complete the setup feel free to add a comment in the comments below).
Azure Bicep will be used to create the App Service and Storage account + file share, and then we will use the Azure Portal to complete the setup (Azure WebApp as a Container and mapping the persistent file share).
First, we need to install Azure Bicep and import the Bicep file into Cloud Shell; we could Upload the file straight from the Portal or clone a repo with the file - but because I am using Azure Cloud Shell from the Terminal because Azure Cloud Shell runs on Linux - I am going to use 'nano' to create the Bicep file manually - feel free to do any of the above options to get the Azure Bicep into Cloud Shell.
Install Azure Bicep
-
To install Azure Bicep, run:

Create Azure Bicep File
We will use Nano, copy the Azure Bicep file and Paste it into Nano, and make sure you adjust the parameters to suit your environment before deploying.
-
In the Azure Cloud Shell, let us create the file by typing.
nano AzNamingTool_main.bicep
-
Paste the Azure Bicep file and do any final edits
-
Now we need to save the file; press Ctrl+X on your keyboard
-
Press Y to save the file
-
Verify the file name and press Enter to accept the filename.

Remember to edit the Azure Bicep parameters, the Resource Names need to be globally unique, so you may run into problems if someone has deployed using the same name!
AzNamingTool_main.bicep
param location string = resourceGroup().location
param serverfarms_AzNamingTool_ASP_Prod_name string = 'AzNamingTool-ASP-Prod'
param storageAccounts_aznamingstgacc_name string = 'aznaming'
param dateTime string = utcNow('d')
param resourceTags object = {
Application: 'Azure Naming Tool'
Version: 'v2.0'
CostCenter: 'Operational'
CreationDate: dateTime
Createdby: 'Luke Murray (luke.geek.nz)'
}
resource storageAccounts_aznamingstgacc_name_resource 'Microsoft.Storage/storageAccounts@2021-09-01' = {
name: '${storageAccounts_aznamingstgacc_name}${uniqueString(resourceGroup().id)}'
location: location
tags: resourceTags
sku: {
name: 'Standard_LRS'
}
kind: 'StorageV2'
properties: {
dnsEndpointType: 'Standard'
defaultToOAuthAuthentication: false
publicNetworkAccess: 'Enabled'
allowCrossTenantReplication: false
minimumTlsVersion: 'TLS1_2'
allowBlobPublicAccess: true
allowSharedKeyAccess: true
networkAcls: {
bypass: 'AzureServices'
defaultAction: 'Allow'
}
supportsHttpsTrafficOnly: true
encryption: {
requireInfrastructureEncryption: false
services: {
file: {
keyType: 'Account'
enabled: true
}
blob: {
keyType: 'Account'
enabled: true
}
}
keySource: 'Microsoft.Storage'
}
accessTier: 'Hot'
}
}
resource Microsoft_Storage_storageAccounts_fileServices_storageAccounts_aznamingstgacc_name_default 'Microsoft.Storage/storageAccounts/fileServices@2021-09-01' = {
parent: storageAccounts_aznamingstgacc_name_resource
name: 'default'
properties: {
shareDeleteRetentionPolicy: {
enabled: true
days: 7
}
}
}
resource storageAccounts_aznamingstgacc_name_default_aznamingtool 'Microsoft.Storage/storageAccounts/fileServices/shares@2021-09-01' = {
parent: Microsoft_Storage_storageAccounts_fileServices_storageAccounts_aznamingstgacc_name_default
name: 'aznamingtool'
properties: {
accessTier: 'TransactionOptimized'
shareQuota: 100
enabledProtocols: 'SMB'
}
}
resource serverfarms_AzNamingTool_ASP_Prod_name_resource 'Microsoft.Web/serverfarms@2021-03-01' = {
name: serverfarms_AzNamingTool_ASP_Prod_name
tags: resourceTags
location: location
sku: {
name: 'B1'
tier: 'Basic'
size: 'B1'
family: 'B'
capacity: 1
}
kind: 'linux'
properties: {
perSiteScaling: false
elasticScaleEnabled: false
maximumElasticWorkerCount: 1
isSpot: false
reserved: true
isXenon: false
hyperV: false
targetWorkerCount: 0
targetWorkerSizeId: 0
zoneRedundant: false
}
}
Deploy Azure Bicep
Now it's time to create the Azure App Service Plan and Storage account (remove the -what if flag at the end, when you confirmed there are no errors).
-
Run the following command to deploy the App Service and Storage account into your Resource Group:
New-AzResourceGroupDeployment -Name 'AzNamingTool-WebApp' -ResourceGroupName 'AzNamingTool-PROD-RG' -TemplateFile .\AzNamingTool_main.bicep -WhatIf

Your resources (App Service, Storage account with File Share) should now be deployed, and we can now close our trusty Cloud Shell.
- Log in to the Microsoft Azure Portal
- Click + Create a Resource
- Search for: Web App and click Create a Web App
- Select your Subscription and Resource Group
- Select a name for your Web App (AzNamingTool-AS-Prod)
- In Publish, select Docker Container
- For Operating system: Select Linux
- Select the Region that your App Service plan was deployed to
- Select the App Service Plan created earlier, then Select Next: Docker

- Under Options, select Single Container
- Change Image Source to Azure Container Registry
- Select your Registry and Azure Naming Tool image, then select Next: Networking

- If you want to enable Network injection, by placing it on your Virtual Network, you can configure this, and we are just going head to Monitoring.
- Application Insights isn't required, but it is recommended - even if it is just for Availability alerting); I always enable it, so select Yes and Next Tags.

- Enter in any applicable Tags and finally click Review + Create
- Click Create
- Now that your container is running, we need to mount the Azure file share, so any persistent data is saved.
- Open your newly created App Service.
- Navigate to Configuration, under Settings in the navigation bar
- Click on Path mappings
- Click + New Azure Storage Mount
- Give the mount a name: i.e. a naming tool-stg-mnt
- Select Basic Configuration
- Select the Storage account created earlier (as part of the Bicep deployment) and select Azure File share
- Select your Storage container and enter in**/app/settings** to the mount path and click Ok

- Then select Save to Save the Path Mappings
Optional: Azure App Service Tweaks
By now, your Azure Naming Tool should be accessible, you don't need to do any of the following, but I recommend them at a bare minimum (environment and use case depending).
- In your App Service, select Configuration, then General Settings
- Check 'On' under 'Always On'
- Click Save
Your App Service will be publically accessible by default, and although you may want to link it to your network via a Private Endpoint, locking down by Public IP may be suitable in some scenarios (such as this demo environment).
- To lock it down to a specific Public IP, in your App Service, Select Networking, then Access restriction.
- Add in your Public IP to restrict it from being accessible from your network and click Ok.
- Make sure you select the scm instance and select: Same restrictions so that the SCM instance isn't also publically accessible.
Let's take a look!
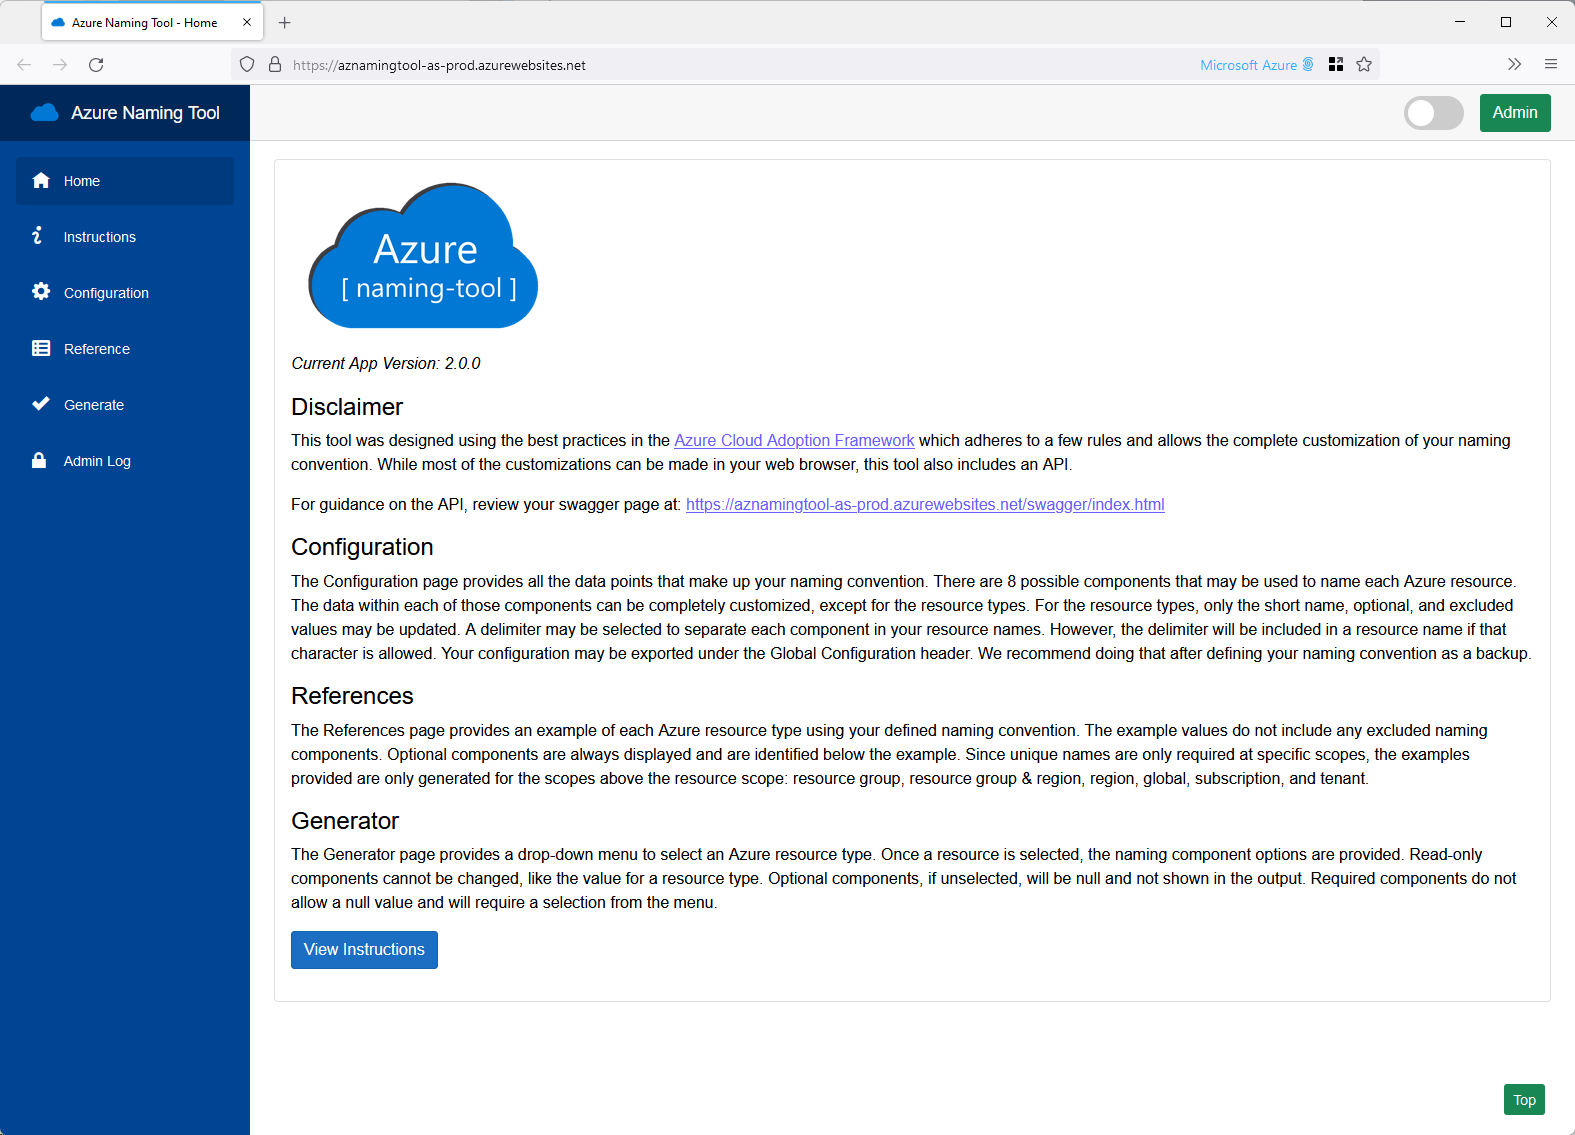
Now that you have successfully deployed the Azure Naming Tool let's take a look.
To open your Azure Naming Tool, navigate to your App Service and select Browse (or copy the URL).
When you open it the first time, you will have the option to create an Admin password, set your Password and select Save; if the Azure File Share wasn't mounted to the Web App - then your Password won't be saved if the App Services crashes or gets reloaded to another node.
Click on Generate
You can immediately generate a naming standard out of the box (and it already contains the prefix for the NZ North Azure region!).

If you click Reference, you can see the reference criteria that Azure Naming Tool works with generating your Naming schema; for example, for ApiManagement APS, we can see that the short name is: API; it supports up to 256 characters but cannot have a '#', and does not need a globally unique name.

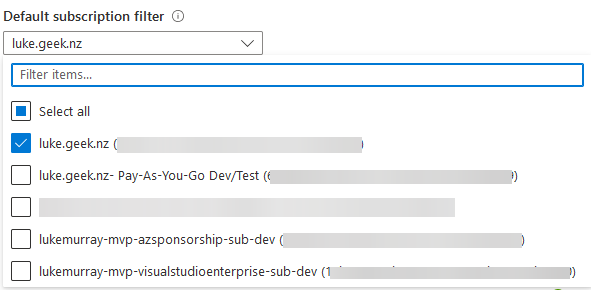
If you navigate to: Configuration, this is where you can specify any Custom changes to suit your Organisation or Organisations (yes, you can use this as a Cloud Architect or Consultant to generate names of multiple organisations). If you don't like the default prefixes for the Resources, Regions, Environment or even Delimiters, you can adjust them here.

You can also Export and Import a configuration from a previous install on the Configuration pane.
There is also an Azure Naming Tool Swagger API that you can leverage (the API key can be found under Admin) in your Infrastructure as Code or script deployments.