Migrating resources between regions using Azure Resource Mover
With over 70+ Microsoft Azure regions across the globe and new regions popping up all the time (for example new New Zealand North region coming in 2023)!
Migrating resources between regions is something that you may want to consider. Let's look at migrating workloads between them, by using Azure Resource Mover.
Overview

Azure Resource Mover helps you to move Azure resources between Azure regions, offering a single pane of glass to migrate different resource types, such as Virtual Machines or Azure SQL databases from a single portal without having to know how to migrate the individual underlying resources, or trying to work out the dependencies for each resource.
Why would you migrate resources between Regions?
Let’s start with why would you migrate resources between regions? Common scenarios include:
- Taking advantage of new Azure region expansions to be closer to customers and reduce latency (such as migrating from Australia East to New Zealand North).
- Increasing availability and resilience by moving to Azure Availability Zones, from regions that don’t currently support it.
- Meeting data residential and compliance requirements.
- Consolidating workloads for mergers and acquisitions.
- The cost of resources in one region may also be cheaper than in another.
So, what are the risks of migrating resources?
Whatever your reason, moving your applications from Point A to Point B is often no easy task. Here are common reasons why:
- Moving resources can pose a risk of an outage.
- Workloads are often made up of multiple services, each requiring its own method and tools to move.
- Interdependencies are often not understood.
- Testing and rollback of these complex scenarios can be daunting.
So, what are the benefits of using Azure Resource Mover?
So, what are some of the benefits that Azure Resource Mover offers us?
- The ability to plan with ease, reducing the time and complexity of your move.
- Streamline your move process by identifying dependencies.
- Plan and test your move multiple times.
- Stage your move as part of scheduled downtime.
- Azure Resource Mover helps you orchestrate seamlessly with a consistent experience across common Azure resources:
- Move multiple resources through a single pane of glass.
- Reduce manual touchpoints, which could increase the change of services being missed.
- Reduce overall time for your move from months to weeks or days* (based on the service and data being consumed).
- Azure Resource Mover helps you move with confidence by planning, testing, and moving related resources together and validating and testing your move before final commitment (by testing your migrated services, while having the peace of mind that your source resources are left intact until you commit to the migration).
So to recap, Azure Resource Mover offers you a unified experience to move multiple resource types across regions while validating dependencies between services and giving you the flexibility to adjust resources such as the Names, SKUs and Availability Zones during the migration to the destination region.
What can Azure Resource Mover move?
The currently supported resources (as of July 2022) are:
- Azure Virtual Machines
- Azure SQL Database
- Azure Virtual Network
- SQL elastic pools
- Azure Load balancer
- Public IP
- Resource group
- Network security group
- Network interfaces
- Azure Availability Sets
And Azure Storage account region replication support is scheduled in the next 6-9 months to be released so the storage account migration should be ready by the time the NZ North comes live.
An updated list of Resources currently supported by Azure Resource Mover can be found here: What resources can I move across regions using Resource Mover?
Azure Resource Mover - The 6-Step Process!

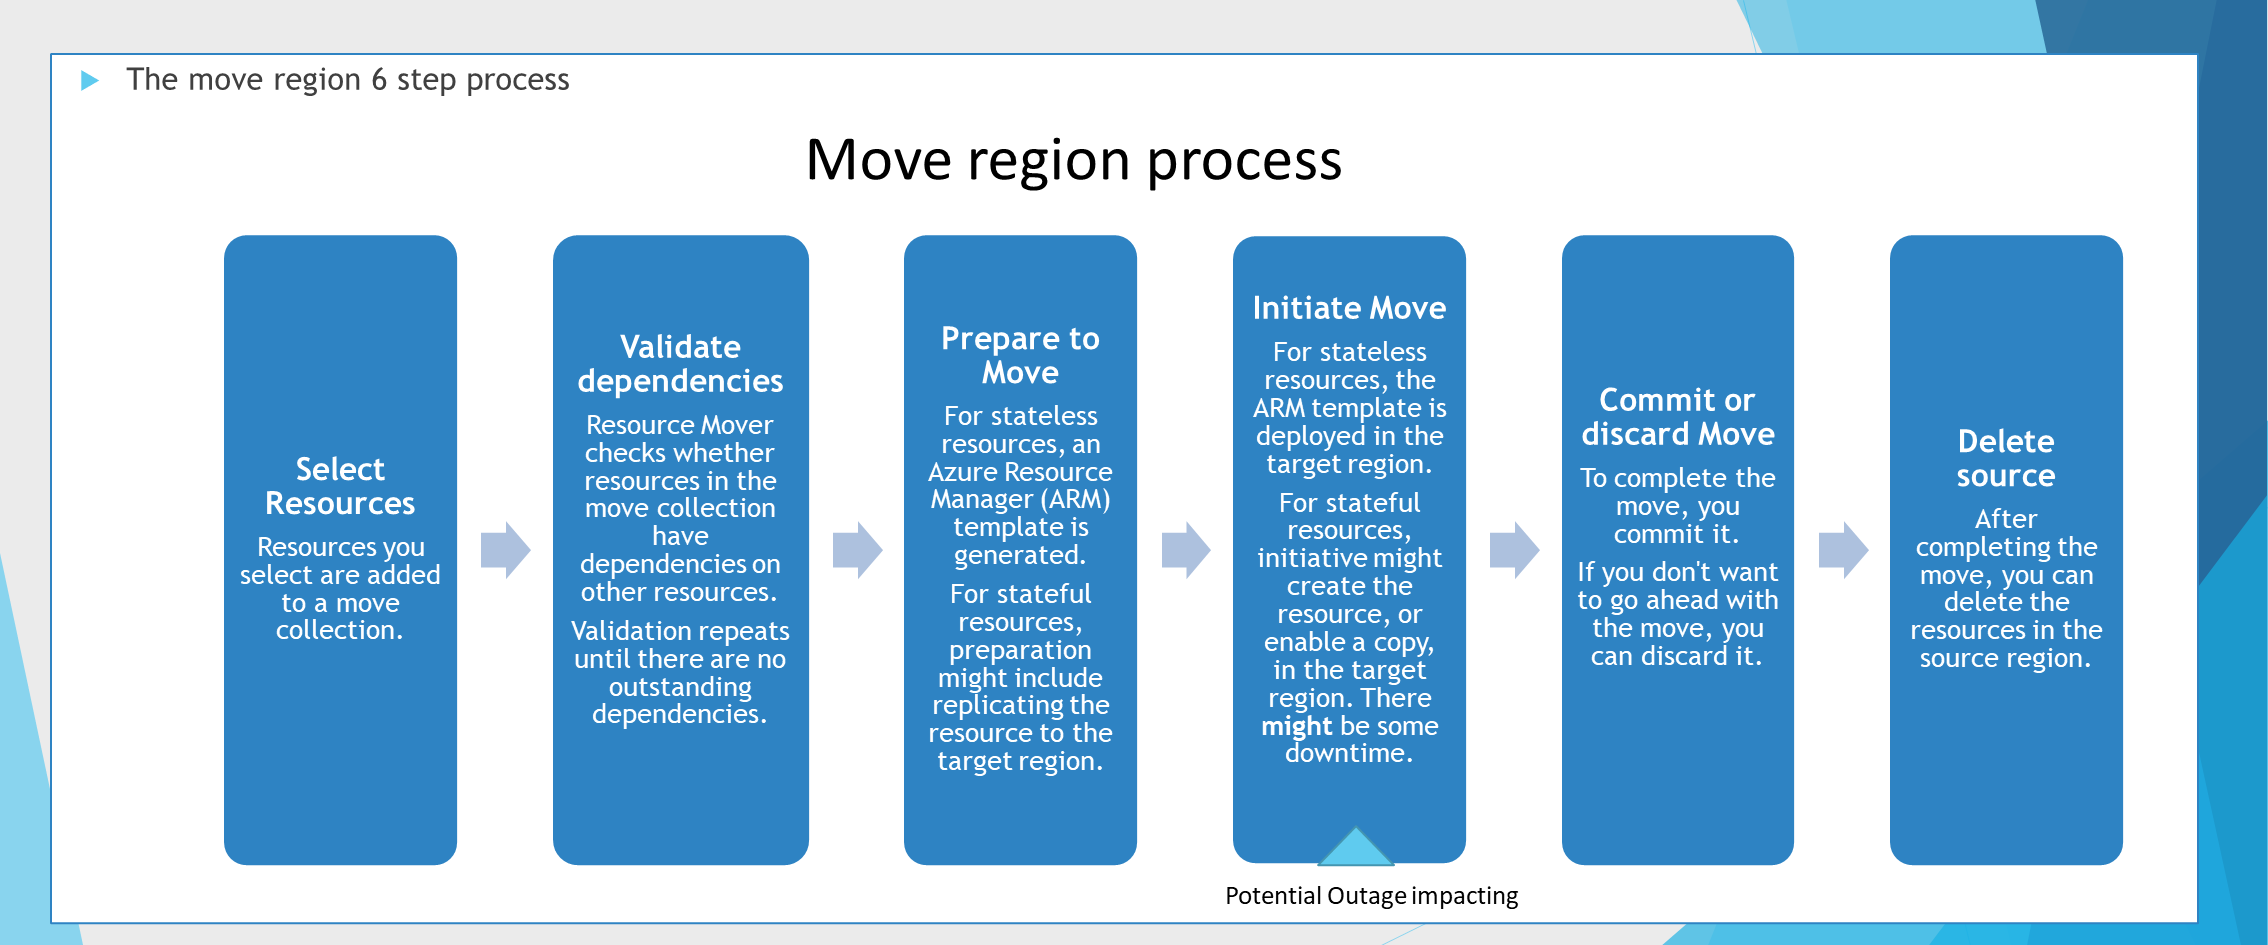
Azure Resource Mover uses a 6-step process.
- The first step is to select the resources you´d like to transfer! A tip is to just pick the Virtual Machine object if you are migrating Virtual Machines, the dependencies will be identified by the Azure Resource Mover service itself!
- The dependency check will be performed, identifying that you need to move other resources along with your virtual machine (Resource Group, NIC, Managed Disks etc.)
- Start the preparation. This step initiates the preparation while creating a resource group with a dedicated Storage Account and a Recovery Services Vault to perform the move. The prepare step also creates the underlying ARM template deployments for the destination region.
- Move initiation starts the process of transferring the resources to the target region. Certain dependencies should be 'committed' before preparation can be initiated, on other resources. If your resource is stateless such as a Network interface, a new ARM deployment will occur, but if your machine is stateful such as a Virtual Machine, Azure Site Recovery will start to copy the disk of your source machine to the target region.
ATTENTION! Resources might be temporarily not available – perform these steps out of business hours - Commit your move or discard the move! Depending on if you want to complete the move process you can decide whether you want to keep or remove the replicated resources in the destination region.
- Delete the source is the cleanup step required to remove the source resources from the region you have transferred from to finish your migration.
Let's see Azure Resource Mover in action

So enough talking, let us see Azure Resource Mover in action?
Demo
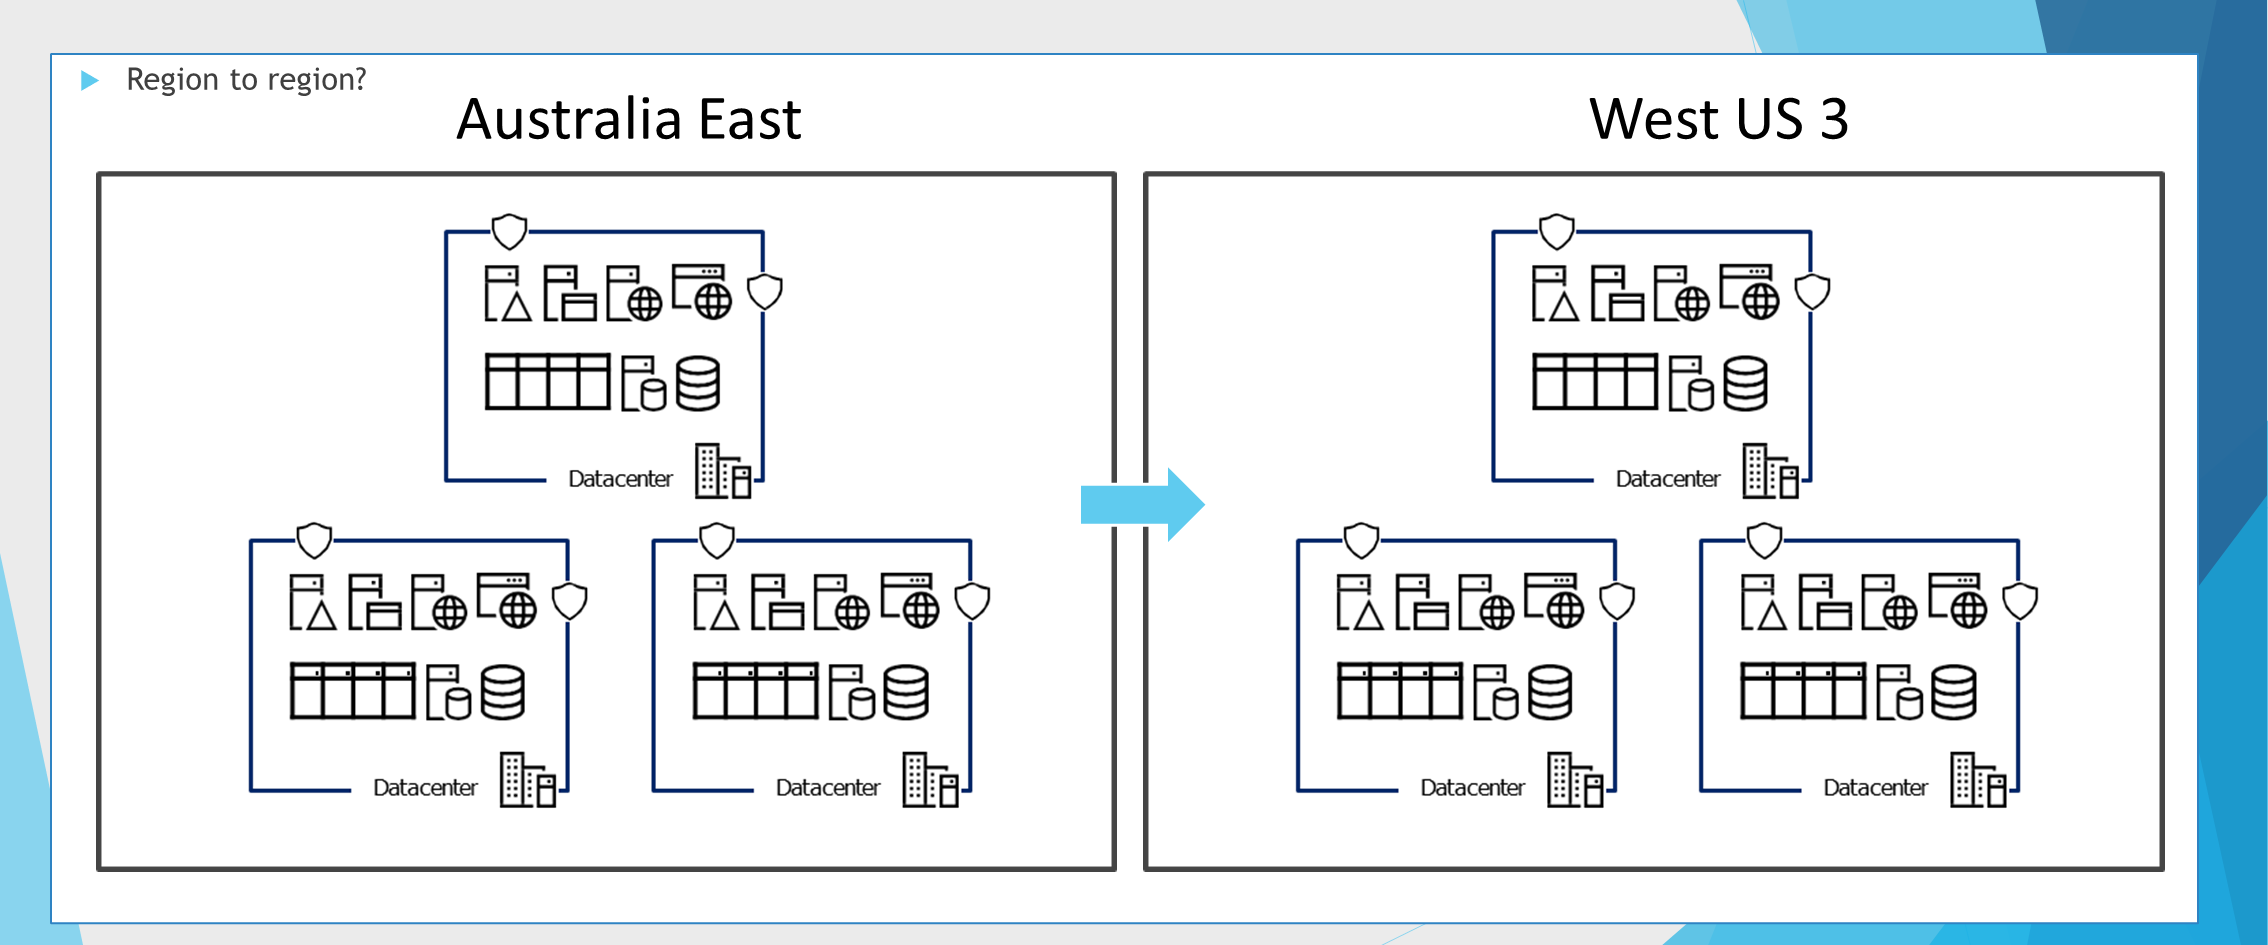
For our demo, we are going to migrate from Australia East to West US3.
Make sure you review your quota and subscription limits, for the other region before you look to migrate them.

So what resources are we going to migrate?
- Virtual Network
- Azure SQL Database
- Azure Virtual Machine & associated dependencies (Resource Groups, Network Interfaces, Managed Disks).
Note: There is no Audio in the demo video below, but it will guide you through Azure Resource Mover and some of the options.
Some items to note
- You can't select individual disks as resources to move across regions. However, disks are moved as part of a VM move.
- You can migrate encrypted Virtual Machines but needs manual intervention to copy the keys
- You can move resources to another subscription AFTER moving resources to the destination region.
- You cannot move peered Virtual Networks across subscriptions, you need to remove the peering first, then re-add it back in the destination region.
- Make sure your quota and required services have been registered and increased for the additional region
- Azure Resource Mover can be used to migrate Azure Virtual Desktop session hosts across regions.
- DNS records can be key to reducing the complexity and interruption to end users as part of your migration.
- There are PowerShell cmdlets (i.e., New-AzResourceMoverMoveCollection)
Additional Resources
To learn more about Azure Resource Mover, visit the Azure Resource Mover page.
Azure Resource Mover videos:
