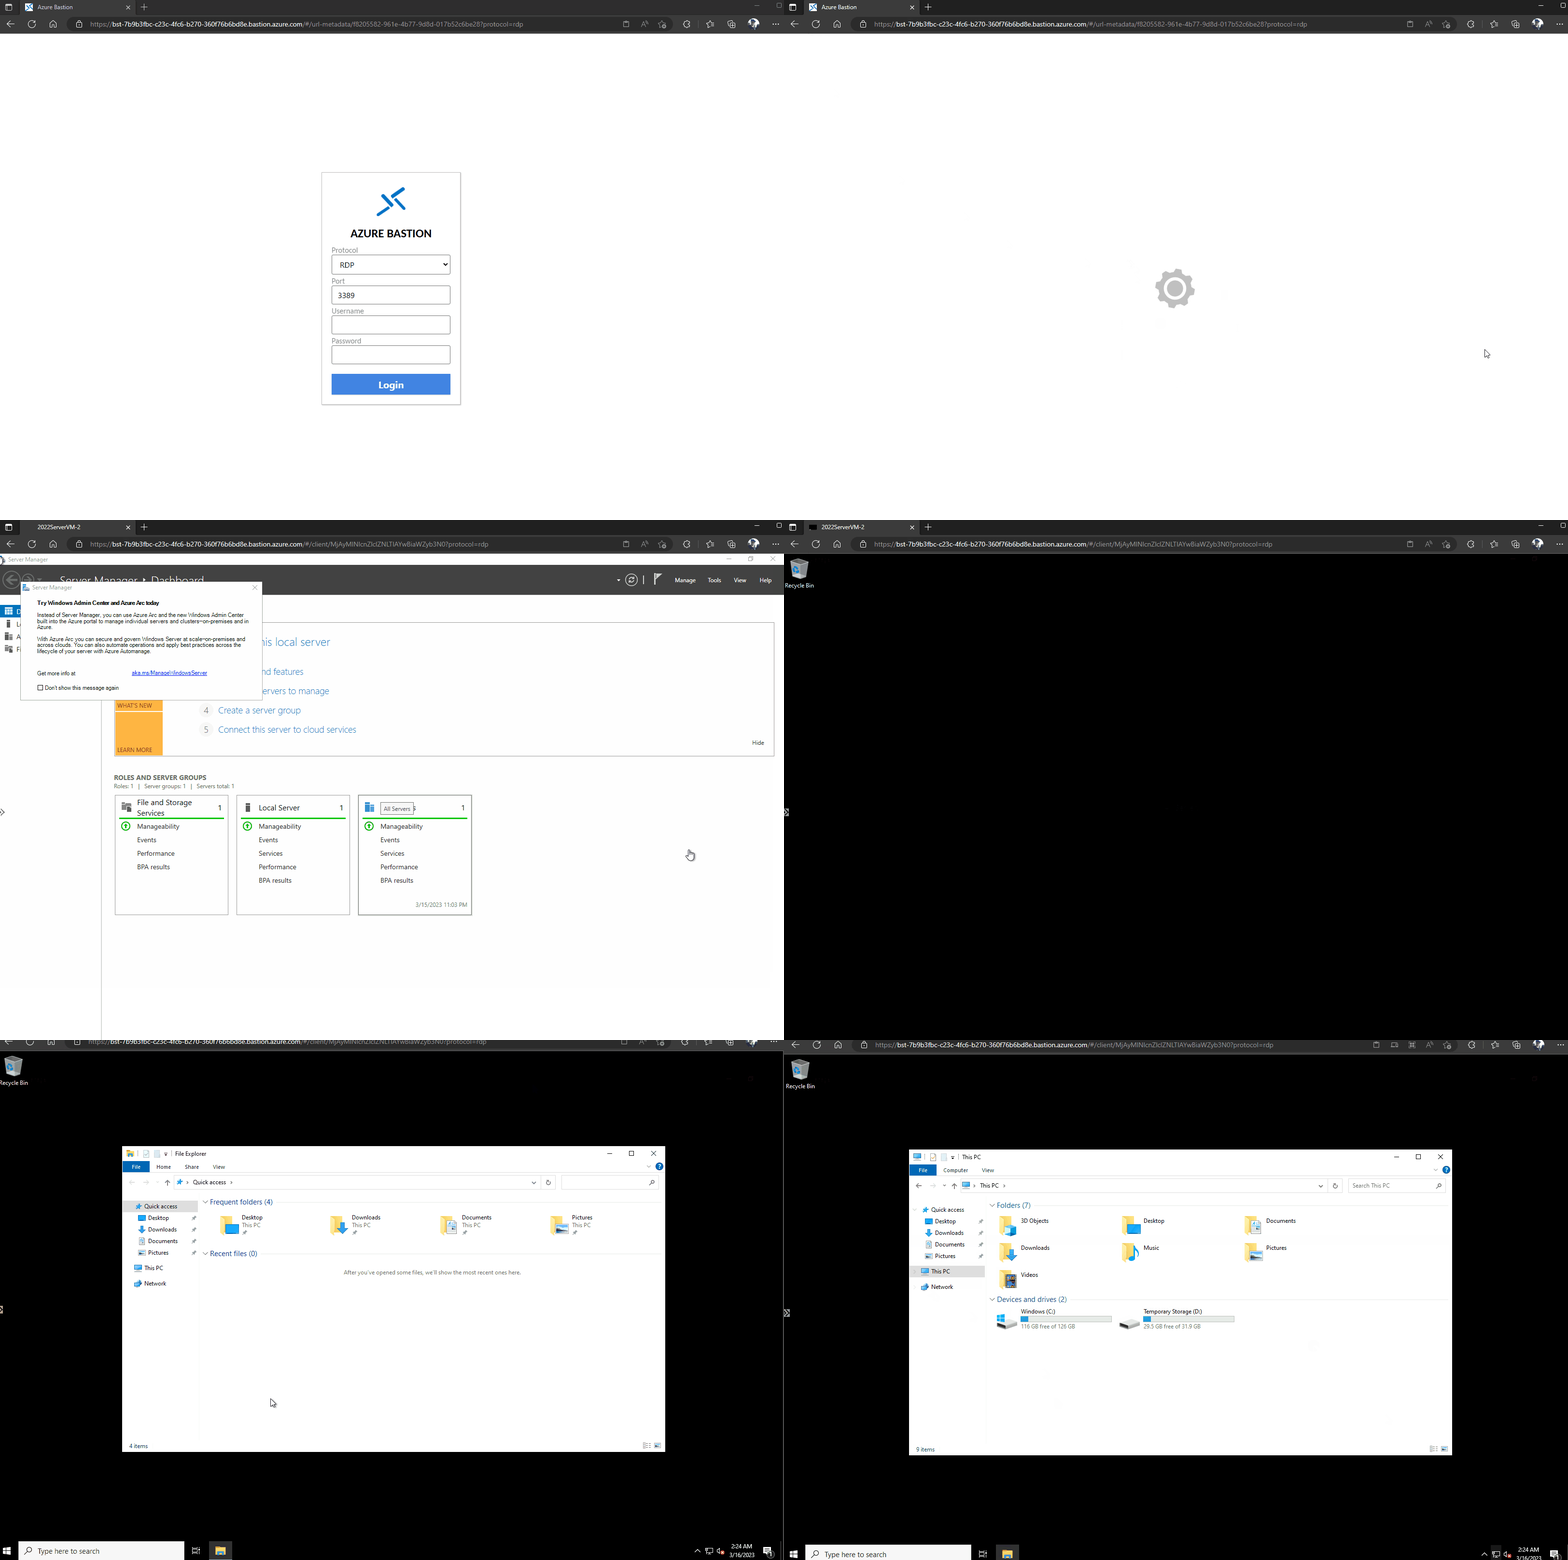
Azure Virtual Machine and a custom MAC address

· 3 min read

You may need an Azure Virtual Machine to install or license software bound to a media access control address (MAC address).

In Microsoft Azure, you can make changes to the Primary Network interface; these changes include manually setting the IP settings to changing the MAC address - these settings are managed by the underlying Network Interface and Azure host.

If you do inadvertently make changes to this, you will lose connection to the Azure Virtual Machine, however, don't panic! Until its rebooted and the configuration is reset by the Azure fabric.

This causes issues when the software is licensed to a specific MAC address; you could reissue the license to the new MAC address OR create a Secondary Interface in Microsoft Azure and update the MAC address on the secondary network interface.

You can easily create a new Network Interface from the Azure Portal and then attach it to the Virtual Machine (the virtual machine needs to be off to allow the NIC to be attached).

Change Network Adapter MAC using PowerShell

Once the NIC is created and attached, run the following PowerShell command in the Azure Virtual Virtual machine (assuming this is a Windows OS, but the same process should work for Linux):

Get-NetAdapter

You want to make sure you are targeting the right Network Adapter; in my example, it is the Hyper-V Interface #2 (with #1 being my Primary NIC).

Add the new MAC address into the $MACAddress variable, and make sure you update the InterfaceDescription to match the Network Adapter you are targeting (note the wildcard before the #2, this targets any network adapter with #2 at the end).

$MACAddress = '000000000000'
$NetAdapter = Get-NetAdapter -InterfaceDescription "*#2"
Set-NetAdapter $NetAdapter.Name -MacAddress $MACAddress
Change Network Adapter MAC using Device Manager

You can also use Device Manager to check and update the MAC address:

  1. Open the Device Manager.
  2. Expand the Network Adapters section.
  3. Right-click on your adapter.
  4. Click the Advanced tab.
  5. Enter your new MAC address.
  6. Reboot your computer to enable the changes.
  7. Check that the changes took effect.

Finally - make sure you document this MAC address somewhere with the reasons WHY the change was made. You can also Tag the secondary MAC address in Azure with notes, such as the reason why it exists, who created it etc.

Deploy Azure Naming Tool into an Azure WebApp as a container

· 14 min read

Organising your cloud workloads to support governance, operational management, and accounting requirements can take a lot of effort before the first resource is created.

Well-defined naming and metadata tagging conventions help to locate and manage resources quickly. These conventions also help associate cloud usage costs with business teams via chargeback and show-back accounting mechanisms, along with rapidly identifying what services are used across services.

A useful naming convention composes resource names from important information about each resource. A well-chosen name helps you quickly identify the resource's type, associated workload, deployment environment, and the Azure region hosting it. Some resource names, such as PaaS services with public endpoints or virtual machine DNS labels, have global scopes, so they must be unique across the Azure platform.

There's no one size fits Azure naming convention; it needs to suit your organisation. However, it is worth noting that there are limitations to naming rules for Azure resources.

With rules around naming resources that are Global, specific to Resource Groups or that have maximum character limits that can't contain specific characters - it can become a project on its own, the world of Cloud where resources are treated as cattle and not pets - the effort to develop a proper naming convention, used across teams or even companies can be quite complex.

This is where the Azure Naming Tool, as part of the Microsoft Cloud Adoption framework, comes into play.

Overview

The Naming Tool (v2 as of June 2022) was developed using a naming pattern based on Microsoft's best practices. Once the organisational components have been defined by an administrator, users can use the tool to generate a name for the desired Azure resource.

Azure [naming-tool]

This tool sitting in the Azure Naming Tool GitHub repository runs as a standalone Web (.NET 6 Blazor application) application using stateless JSON files for its Configuration and offers users the ability to generate and customise their own Microsoft Azure Naming convention taking all the restrictions into account. In addition, Azure Naming Tool - also provides a Swagger API that can be used in your Infrastructure as Code deployments to generate the names of resources on the fly.

Azure Naming Tool - Reference

This information is straight from the project README.md:

Project Components

  • UI/Admin
  • API
  • JSON configuration files
  • Dockerfile

Important Notes

The following are important notes/aspects of the Azure Naming Tool:

  • The application is designed to run as a stand-alone solution, with no internet/Azure connection.
  • The application can be run as a .NET 6 site, or as a Docker container.
  • The site can be hosted in any environment, including internal or in a public/private cloud.
  • The application uses local JSON files to store the configuration of the components.
  • The application requires persistent storage. If running as a container, a volume is required to store configuration files.
  • The application contains a repository folder, which contains the default component configuration JSON files. When deployed, these files are copied to the settings folder.
  • The Admin interface allows configurations to be "reset", if needed. This process copies the configuration from the repository folder to the settings folder.
  • The API requires an API Key for all executions. A default API Key (guid) will be generated on first launch. This value can be updated in the Admin section.
  • On first launch, the application will prompt for the Admin password to be set.

Deployment

Prerequisites

Today, we will deploy the Azure Naming Tool into an Azure WebApp, running as a Container.Azure Naming Tool - High-Level Architecture

The Azure resources we will create are:

You need Contributor rights in at least a Resource Group to deploy these Azure resources.

We will be using a mix of services such as:

To reduce the need to set up these dependencies on individual workstations, we will use a mix of the Azure Cloud Shell and Azure Portal. If you haven't set up your Azure Cloud Shell, you can refer to an article I wrote previously "here" for this remainder of this article I am going to assume you have it set up already.

Note: I will connect to the Cloud Shell using the Windows Terminal so that any screenshots will be of the Terminal, but it's the same behaviour if I used the browser experience.

Clone the Git Repository

Now is time to clone the git repository into our Cloud Shell so that we can build the docker image definition.

  1. Log in to the Microsoft Azure Portal and open up the Azure Cloud Shell (make sure you are in PowerShell (not Bash)).

  2. Run the following commands and wait for the Repository to be cloned directly into the CloudShell virtual instance:

    git clone https://github.com/mspnp/AzureNamingTool

Azure Naming Tool - Clone Repo

Create Resource Group & Azure Container Registry

Now that we have our Repository, it's time to create our Resource Group and Container Registry (Public); we will use a few PowerShell cmdlets to develop the resources; make sure you change the name of your Container Registry and Resource Group to match your environment.

  1. Log in to the Microsoft Azure Portal and open up the Azure Cloud Shell (make sure you are in PowerShell (not Bash)).
  2. Run the following commands to create the Resource Group and the Azure Container Registry:

Remember to change the name of the Container Registry - this is a globally unique resource, so if someone else has already created a registry with the same name, yours won't deploy.

   $ResourceGroup = New-AzResourceGroup -Name 'AzNamingTool-PROD-RG' -Location 'Australia East'
$registry = New-AzContainerRegistry -ResourceGroupName 'AzNamingTool-PROD-RG' -Name "ContainerRegistryAzNamingTool" -EnableAdminUser -Sku Basic
Connect-AzContainerRegistry -Name $registry.Name

AzureNaming Tool - Create Resource Group & Azure Container Registry

Build your image to the Azure Container Registry

The Azure Container Registry will be stored to host and build your image definition, as Docker support is not native to the Azure Cloud Shell; now that we have created it is time to build the image and push it to the registry. Ensure you are in the AzNamingTool folder (CloudAdoptionFramework/ready/AzNamingTool/).

  1. Run the following Azure CLI command:

    az acr build --image azurenamingtool:v1 --registry $registry.Name --file Dockerfile .

AzureNaming Tool - Azure Container Registry

Deploy Azure App Service and WebApp

For the following, we will use a mix of Azure Bicep and the Azure Portal (I ran into an Access Key error and PowerShell issue when attempting to map the share using Bicep and PowerShell - if you managed to complete the setup feel free to add a comment in the comments below).

Azure Bicep will be used to create the App Service and Storage account + file share, and then we will use the Azure Portal to complete the setup (Azure WebApp as a Container and mapping the persistent file share).

First, we need to install Azure Bicep and import the Bicep file into Cloud Shell; we could Upload the file straight from the Portal or clone a repo with the file - but because I am using Azure Cloud Shell from the Terminal because Azure Cloud Shell runs on Linux - I am going to use 'nano' to create the Bicep file manually - feel free to do any of the above options to get the Azure Bicep into Cloud Shell.

Install Azure Bicep
  1. To install Azure Bicep, run:

    az bicep install

Azure Naming Tool - Install Azure Bicep

Create Azure Bicep File

We will use Nano, copy the Azure Bicep file and Paste it into Nano, and make sure you adjust the parameters to suit your environment before deploying.

  1. In the Azure Cloud Shell, let us create the file by typing.

    nano AzNamingTool_main.bicep
  2. Paste the Azure Bicep file and do any final edits

  3. Now we need to save the file; press Ctrl+X on your keyboard

  4. Press Y to save the file

  5. Verify the file name and press Enter to accept the filename.

    Azure Naming Tool - Create Bicep file

Remember to edit the Azure Bicep parameters, the Resource Names need to be globally unique, so you may run into problems if someone has deployed using the same name!

AzNamingTool_main.bicep
//Related to a Blog Article: https://luke.geek.nz for setting up Azure Naming Tool.
///Parameter Setting
param location string = resourceGroup().location

//Adjust Parameter values to match your naming conventions

param serverfarms_AzNamingTool_ASP_Prod_name string = 'AzNamingTool-ASP-Prod'
param storageAccounts_aznamingstgacc_name string = 'aznaming'

// The following Parameters are used add Tags to your deployed resources. Adjust for your own needs.

param dateTime string = utcNow('d')
param resourceTags object = {
Application: 'Azure Naming Tool'
Version: 'v2.0'
CostCenter: 'Operational'
CreationDate: dateTime
Createdby: 'Luke Murray (luke.geek.nz)'
}

/// Deploys Resources

//Deploys Azure Storage Account for Azure File Share for AzNamingtool persistant data

resource storageAccounts_aznamingstgacc_name_resource 'Microsoft.Storage/storageAccounts@2021-09-01' = {
name: '${storageAccounts_aznamingstgacc_name}${uniqueString(resourceGroup().id)}'
location: location
tags: resourceTags
sku: {
name: 'Standard_LRS'
}
kind: 'StorageV2'
properties: {
dnsEndpointType: 'Standard'
defaultToOAuthAuthentication: false
publicNetworkAccess: 'Enabled'
allowCrossTenantReplication: false
minimumTlsVersion: 'TLS1_2'
allowBlobPublicAccess: true
allowSharedKeyAccess: true
networkAcls: {
bypass: 'AzureServices'
defaultAction: 'Allow'
}
supportsHttpsTrafficOnly: true
encryption: {
requireInfrastructureEncryption: false
services: {
file: {
keyType: 'Account'
enabled: true
}
blob: {
keyType: 'Account'
enabled: true
}
}
keySource: 'Microsoft.Storage'
}
accessTier: 'Hot'
}
}
// Deploys Azure File Share from the Storage Account above.

resource Microsoft_Storage_storageAccounts_fileServices_storageAccounts_aznamingstgacc_name_default 'Microsoft.Storage/storageAccounts/fileServices@2021-09-01' = {
parent: storageAccounts_aznamingstgacc_name_resource
name: 'default'

properties: {

shareDeleteRetentionPolicy: {
enabled: true
days: 7
}
}
}

resource storageAccounts_aznamingstgacc_name_default_aznamingtool 'Microsoft.Storage/storageAccounts/fileServices/shares@2021-09-01' = {
parent: Microsoft_Storage_storageAccounts_fileServices_storageAccounts_aznamingstgacc_name_default
name: 'aznamingtool'
properties: {
accessTier: 'TransactionOptimized'
shareQuota: 100
enabledProtocols: 'SMB'
}
}

//Deploys the App Service PLan for AzNamingTool

resource serverfarms_AzNamingTool_ASP_Prod_name_resource 'Microsoft.Web/serverfarms@2021-03-01' = {
name: serverfarms_AzNamingTool_ASP_Prod_name
tags: resourceTags
location: location
sku: {
name: 'B1'
tier: 'Basic'
size: 'B1'
family: 'B'
capacity: 1
}
kind: 'linux'
properties: {
perSiteScaling: false
elasticScaleEnabled: false
maximumElasticWorkerCount: 1
isSpot: false
reserved: true
isXenon: false
hyperV: false
targetWorkerCount: 0
targetWorkerSizeId: 0
zoneRedundant: false
}
}
Deploy Azure Bicep

Now it's time to create the Azure App Service Plan and Storage account (remove the -what if flag at the end, when you confirmed there are no errors).

  1. Run the following command to deploy the App Service and Storage account into your Resource Group:

    New-AzResourceGroupDeployment -Name 'AzNamingTool-WebApp' -ResourceGroupName 'AzNamingTool-PROD-RG' -TemplateFile .\AzNamingTool_main.bicep -WhatIf

Azure Naming Tool - Deploy Azure Bicep resources

Your resources (App Service, Storage account with File Share) should now be deployed, and we can now close our trusty Cloud Shell.

Deploy and configure WebApp as a Container
  1. Log in to the Microsoft Azure Portal
  2. Click + Create a Resource
  3. Search for: Web App and click Create a Web App
  4. Select your Subscription and Resource Group
  5. Select a name for your Web App (AzNamingTool-AS-Prod)
  6. In Publish, select Docker Container
  7. For Operating system: Select Linux
  8. Select the Region that your App Service plan was deployed to
  9. Select the App Service Plan created earlier, then Select Next: Docker
  10. Azure Naming Tool - Web App Deployment
  11. Under Options, select Single Container
  12. Change Image Source to Azure Container Registry
  13. Select your Registry and Azure Naming Tool image, then select Next: Networking
  14. Azure Naming Tool - Registry
  15. If you want to enable Network injection, by placing it on your Virtual Network, you can configure this, and we are just going head to Monitoring.
  16. Application Insights isn't required, but it is recommended - even if it is just for Availability alerting); I always enable it, so select Yes and Next Tags.
  17. Azure App Deployment - Application Insights
  18. Enter in any applicable Tags and finally click Review + Create
  19. Click Create
  20. Now that your container is running, we need to mount the Azure file share, so any persistent data is saved.
  21. Open your newly created App Service.
  22. Navigate to Configuration, under Settings in the navigation bar
  23. Click on Path mappings
  24. Click + New Azure Storage Mount
  25. Give the mount a name: i.e. a naming tool-stg-mnt
  26. Select Basic Configuration
  27. Select the Storage account created earlier (as part of the Bicep deployment) and select Azure File share
  28. Select your Storage container and enter in**/app/settings** to the mount path and click Ok
  29. Azure App Service - Mount Azure File Share
  30. Then select Save to Save the Path Mappings
Optional: Azure App Service Tweaks

By now, your Azure Naming Tool should be accessible, you don't need to do any of the following, but I recommend them at a bare minimum (environment and use case depending).

Enable Always On
  1. In your App Service, select Configuration, then General Settings
  2. Check 'On' under 'Always On'
  3. Click Save
Configure Firewall

Your App Service will be publically accessible by default, and although you may want to link it to your network via a Private Endpoint, locking down by Public IP may be suitable in some scenarios (such as this demo environment).

  1. To lock it down to a specific Public IP, in your App Service, Select Networking, then Access restriction.
  2. Add in your Public IP to restrict it from being accessible from your network and click Ok.
  3. Make sure you select the scm instance and select: Same restrictions so that the SCM instance isn't also publically accessible.

Let's take a look!

Now that you have successfully deployed the Azure Naming Tool let's take a look.

To open your Azure Naming Tool, navigate to your App Service and select Browse (or copy the URL).

When you open it the first time, you will have the option to create an Admin password, set your Password and select Save; if the Azure File Share wasn't mounted to the Web App - then your Password won't be saved if the App Services crashes or gets reloaded to another node.

Azure Naming Tool

Click on Generate

You can immediately generate a naming standard out of the box (and it already contains the prefix for the NZ North Azure region!).

Azure Naming Standard - Generate

If you click Reference, you can see the reference criteria that Azure Naming Tool works with generating your Naming schema; for example, for ApiManagement APS, we can see that the short name is: API; it supports up to 256 characters but cannot have a '#', and does not need a globally unique name.

Azure Naming Tool - Reference API Management

If you navigate to: Configuration, this is where you can specify any Custom changes to suit your Organisation or Organisations (yes, you can use this as a Cloud Architect or Consultant to generate names of multiple organisations). If you don't like the default prefixes for the Resources, Regions, Environment or even Delimiters, you can adjust them here.

Azure Naming Tool - Configuration

You can also Export and Import a configuration from a previous install on the Configuration pane.

There is also an Azure Naming Tool Swagger API that you can leverage (the API key can be found under Admin) in your Infrastructure as Code or script deployments.

Azure Naming Tool - API

Add Custom DNS servers and set Azure Point to Site VPN to Connect automatically

· 2 min read

The Azure Point to Site VPN will take the DNS servers from the Virtual Network, that the Gateway is peering into by default, but due to VNET Peering or custom configuration if you may want to point this to custom DNS servers.

To do this, you need to edit the 'azurevpnconfig.xml' file and reimport the VPN connection.

  1. Open: azurevpnconfig.xml in your favourite editor (ie Visual Studio Code or Notepad)
  2. Underneath the (which you can also change, as this is the name that users will see in Windows) add: < clientconfig>.

For example:

  <name>Luke's Azure Point to Site VPN</name>
<clientconfig>
<!-- need to specify always on = true for the VPN to connect automatically -->
<AlwaysOn>true</AlwaysOn>
<!-- Add custom DNS Servers -->
<dnsservers>
<dnsserver>10.100.1.1</dnsserver>
<dnsserver>10.100.1.2</dnsserver>
</dnsservers>
<!-- Add custom DNS suffixes -->
<dnssuffixes>
<dnssuffix>.luke.geek.nz</dnssuffix>
</dnssuffixes>
</clientconfig>

Save your azurevpnconfig.xml and import it into the Azure VPN client.

Once the VPN has been re-established your Custom DNS settings and suffxies should take effect. If you included the this will reconnect automatically, after your first connection and after computer reboots.

If you need assistance setting up a Point to Site VPN, check out my article here: Create Azure Point to Site VPN using Microsoft Entra ID authentication

Migrating resources between regions using Azure Resource Mover

· 7 min read

With over 70+ Microsoft Azure regions across the globe and new regions popping up all the time (for example new New Zealand North region coming in 2023)!

Migrating resources between regions is something that you may want to consider. Let's look at migrating workloads between them, by using Azure Resource Mover.

Overview

Azure Resource Mover

Azure Resource Mover helps you to move Azure resources between Azure regions, offering a single pane of glass to migrate different resource types, such as Virtual Machines or Azure SQL databases from a single portal without having to know how to migrate the individual underlying resources, or trying to work out the dependencies for each resource.

Why would you migrate resources between Regions?

Let’s start with why would you migrate resources between regions? Common scenarios include:

  • Taking advantage of new Azure region expansions to be closer to customers and reduce latency (such as migrating from Australia East to New Zealand North).
  • Increasing availability and resilience by moving to Azure Availability Zones, from regions that don’t currently support it.
  • Meeting data residential and compliance requirements.
  • Consolidating workloads for mergers and acquisitions.
  • The cost of resources in one region may also be cheaper than in another.

So, what are the risks of migrating resources?

Whatever your reason, moving your applications from Point A to Point B is often no easy task. Here are common reasons why:

  • Moving resources can pose a risk of an outage.
  • Workloads are often made up of multiple services, each requiring its own method and tools to move.
  • Interdependencies are often not understood.
  • Testing and rollback of these complex scenarios can be daunting.

So, what are the benefits of using Azure Resource Mover?

So, what are some of the benefits that Azure Resource Mover offers us?

  • The ability to plan with ease, reducing the time and complexity of your move.
  • Streamline your move process by identifying dependencies.
  • Plan and test your move multiple times.
  • Stage your move as part of scheduled downtime.
  • Azure Resource Mover helps you orchestrate seamlessly with a consistent experience across common Azure resources​:
  • Move multiple resources through a single pane of glass.
  • Reduce manual touchpoints, which could increase the change of services being missed.
  • Reduce overall time for your move from months to weeks or days* (based on the service and data being consumed).
  • Azure Resource Mover helps you move with confidence by planning, testing, and moving related resources together and validating and testing your move before final commitment (by testing your migrated services, while having the peace of mind that your source resources are left intact until you commit to the migration).

So to recap, Azure Resource Mover offers you a unified experience to move multiple resource types across regions while validating dependencies between services and giving you the flexibility to adjust resources such as the Names, SKUs and Availability Zones during the migration to the destination region.

What can Azure Resource Mover move?

The currently supported resources (as of July 2022) are:

  • Azure Virtual Machines
  • Azure SQL Database
  • Azure Virtual Network
  • SQL elastic pools
  • Azure Load balancer
  • Public IP
  • Resource group
  • Network security group
  • Network interfaces
  • Azure Availability Sets

And Azure Storage account region replication support is scheduled in the next 6-9 months to be released so the storage account migration should be ready by the time the NZ North comes live.

An updated list of Resources currently supported by Azure Resource Mover can be found here: What resources can I move across regions using Resource Mover?

Azure Resource Mover - The 6-Step Process!

Azure Resource Mover - 6 Step Process

Azure Resource Mover uses a 6-step process.

  1. The first step is to select the resources you´d like to transfer! A tip is to just pick the Virtual Machine object if you are migrating Virtual Machines, the dependencies will be identified by the Azure Resource Mover service itself!
  2. The dependency check will be performed, identifying that you need to move other resources along with your virtual machine (Resource Group, NIC, Managed Disks etc.)
  3. Start the preparation. This step initiates the preparation while creating a resource group with a dedicated Storage Account and a Recovery Services Vault to perform the move. The prepare step also creates the underlying ARM template deployments for the destination region.
  4. Move initiation starts the process of transferring the resources to the target region. Certain dependencies should be 'committed' before preparation can be initiated, on other resources. If your resource is stateless such as a Network interface, a new ARM deployment will occur, but if your machine is stateful such as a Virtual Machine, Azure Site Recovery will start to copy the disk of your source machine to the target region.
    ATTENTION! Resources might be temporarily not available – perform these steps out of business hours
  5. Commit your move or discard the move! Depending on if you want to complete the move process you can decide whether you want to keep or remove the replicated resources in the destination region.
  6. Delete the source is the cleanup step required to remove the source resources from the region you have transferred from to finish your migration.

Let's see Azure Resource Mover in action

Azure Resource Mover - In Action

So enough talking, let us see Azure Resource Mover in action?

Demo

For our demo, we are going to migrate from Australia East to West US3.

Make sure you review your quota and subscription limits, for the other region before you look to migrate them.

Azure Regions  - Australia East to West US3

So what resources are we going to migrate?

  • Virtual Network
  • Azure SQL Database
  • Azure Virtual Machine & associated dependencies (Resource Groups, Network Interfaces, Managed Disks).

Note: There is no Audio in the demo video below, but it will guide you through Azure Resource Mover and some of the options.

Some items to note

  • You can't select individual disks as resources to move across regions. However, disks are moved as part of a VM move.
  • You can migrate encrypted Virtual Machines but needs manual intervention to copy the keys
  • You can move resources to another subscription AFTER moving resources to the destination region.
  • You cannot move peered Virtual Networks across subscriptions, you need to remove the peering first, then re-add it back in the destination region.
  • Make sure your quota and required services have been registered and increased for the additional region
  • Azure Resource Mover can be used to migrate Azure Virtual Desktop session hosts across regions.
  • DNS records can be key to reducing the complexity and interruption to end users as part of your migration.
  • There are PowerShell cmdlets (i.e., New-AzResourceMoverMoveCollection)

Additional Resources

To learn more about Azure Resource Mover, visit the Azure Resource Mover page.

Azure Resource Mover videos:

Microsoft Azure Portal - Global & Advanced Filters

· 5 min read

We've all been there! In the Azure portal, looking for a resource or subscription and cannot find it! Once permissions are ruled out, you are left with the Portal itself, and the filter.

You may see a checkbox or message like the below:

Show only subscriptions selected in the global subscriptions filter.

Show only subscriptions selected in the global subscriptions filter

This is because the Microsoft Azure portal has a default filter, which is very handy in hiding subscriptions and resources you don't want to see or use all the time.

The following Microsoft document 'Manage Azure portal settings and preferences' is a great place to start, but let us take a look ourselves.

Azure Portal Filters

Global Subscription Filter

Let us take a look at the Global subscription filter.

  1. Log in to the Microsoft Azure Portal
  2. Click on 'Settings' on the top right-hand navigation bar
  3. Azure Portal - Settings
  4. Click on the dropdown list under the Default subscription filter
  5. Here you can select or de-select the subscriptions you want to display by default in the Microsoft Azure Portal.
  6. Azure Portal - Global Filter
  7. There is no Save button, the changes will automatically take effect.

Advanced Filters

Let us take a look at the Advanced subscription filters.

  1. Log in to the Microsoft Azure Portal
  2. Click on 'Settings' on the top right-hand navigation bar
  3. Azure Portal - Settings
  4. Toggle Advanced Filters
  5. Click Continue to reload the Azure Portal, your Global subscription filter will be changed to an advanced filter.
  6. Click Modify Advanced filters
  7. Click + Create a filter
  8. Here you have the ability to create a filter or filters, to help match your requirements. You can create filters based on subscription ID and subscription name.
Filter TypeOperatorValueNote
Subscription ID==Subscription ID arrayEqual
Subscription name!=Subscription ID arrayDoes not Equal
Subscription statecontainsStringContains
!containsStringDoes not Contain
startswithStringStarts with
!startswithStringDoes not start with
endswithStringEnds with
!endswithStringDoes not end with
Subscription StateDescription
Activate/EnabledYour Azure subscription is active. You can use the subscription to deploy new resources and manage existing ones.
DeletedYour Azure subscription has been deleted along with all underlying resources/data.
DisabledYour Azure subscription is disabled and can no longer be used to create or manage Azure resources. While in this state, your virtual machines are de-allocated, temporary IP addresses are freed, storage is read-only and other services are disabled.
ExpiredYour Azure subscription is expired because it was canceled. You can reactivate an expired subscription.
Past DueYour Azure subscription has an outstanding payment pending. Your subscription is still active but failure to pay the dues may result in subscription being disabled.
WarnedYour Azure subscription is in a warned state and will be disabled shortly if the warning reason isn't addressed. A subscription may be in warned state if its past due, canceled by user, or if the subscription has expired.
  1. Using the logic above, we can easily create filters based on the state of a subscription and name, an example is, creating a filter that displays all subscriptions with 'dev' in its name:
  2. Azure Portal - Advanced Subscription Filter

You can only have one Filter displayed at once in the Azure Portal, but you can easily switch between them, by clicking Activate, next to the filter name.

If you wish to disable Advanced Filters, and go back to the Global Filter, you can deselect the Toggle for Advanced Filters.

Additional Resources

Microsoft Docs

To get the most out of your Azure Portal experience, the below Microsoft documentation is worth a read (in no particular order).

Send Feedback to Microsoft

On the last note, Microsoft has made it easy to create Feedback, that will get fed back to the Azure Portal and product teams straight in the Microsoft Azure Portal, if you ever see anything that may need changing, or a link out of date don't hesitate to send your feedback to Microsoft, by pressing the little Feedback button on the top right of your navigation bar.

Azure Portal - Feedback

The Microsoft Azure portal is in development all the time and is now built with Azure Resource Graph capabilities, it is very easy not to try and see new functionality, so I recommend you keep your eyes out and try new features.