Currently, CIS (Center for Internet Security) Azure Marketplace images, do not support being Entra ID (Azure Active Directory) Joined.
Although this article is about allowing Entra ID login to a Ubuntu machine, its worth noting the current decisions around Windows as well currently:
'The Windows CIS Benchmarks are written for Active Directory domain-joined systems using Group Policy, not standalone/workgroup systems. Adjustments/tailoring to some recommendations will be needed to maintain functionality if attempting to implement CIS hardening on standalone systems or a system running in the cloud.
'Currently, we do not support Azure Active Directory and it is not compatible with our EXISTING Hardened Images.
In fact when you, attempt to create a CIS Level 1 Ubuntu image in the Azure Portal, you get:
"This image does not support Login with Azure AD."

However, as I go into below, we can indeed login to the CIS hardened image, using the Microsoft Azure AD based SSH Login extension.
Be wary, that although this works, you may run into issues with operational support of this from CIS, due to the hardening. This is also Entra ID LOGIN (not JOINED!). You won't see the device under Entra ID Devices.
There are many security benefits of using Azure AD with SSH log in to Linux VMs in Azure, including:
- Use of your Entra ID (Azure AD) credentials to log in to Azure Linux VMs.
- Get SSH certificate-based authentication without needing to distribute SSH keys to users or provision SSH public keys on any Azure Linux VMs you deploy.
- Reduce reliance on local administrator accounts, credential theft, and weak credentials.
- Password complexity and password lifetime policies configured for Azure AD help secure Linux VMs as well.
- With Azure role-based access control, specify who can login to a VM as a regular user or with administrator privileges. When users join or leave your team, you can update the Azure RBAC policy for the VM to grant access as appropriate. When employees leave your organization and their user account is disabled or removed from Azure AD, they no longer have access to your resources.
- With Conditional Access, configure policies to require multi-factor authentication and/or require client device you are using to SSH be a managed device (for example: compliant device or hybrid Azure AD joined) before you can SSH to Linux VMs.
- Use Azure deploy and audit policies to require Azure AD login for Linux VMs and to flag use of non-approved local accounts on the VMs.
So after your CIS Hardened Image, in my case I am using Ubuntu 20.04 has been deployed in Azure. Lets set this up.
You will need to make sure you have a few prerequsites.
Prerequisites
Network
VM network configuration must permit outbound access to the following endpoints over TCP port 443.
https://packages.microsoft.com: For package installation and upgrades.
http://169.254.169.254: Azure Instance Metadata Service endpoint.
https://login.microsoftonline.com: For PAM-based (pluggable authentication modules) authentication flows.
https://pas.windows.net: For Azure RBAC (Role Based Access Control) flows.
Also make sure you have enabled TCP Port 80 for: ubuntu.com, specifically http://archive.ubuntu.com as the Microsoft Azure AD based SSH Login, will need to download and install the following packages: aadsshlogin and aadsshlogin-selinux as needed.
Virtual Machine
The CIS hardened image, will need to have a System Managed Identity setup. This can be easily enabled in the Identity blade of the Virtual Machine.
The Entra ID (Azure Active Directory) users that need to login with to the Linux Virtual Machine are a member of one of the following Azure RBAC (Role Based Access Control) groups, as per their requirements:
| RBAC Role | Notes |
|---|
| Virtual Machine Administrator Login | View Virtual Machines in the portal and login as administrator |
| Virtual Machine User Login | View Virtual Machines in the portal and login as a regular user. |
Only one role is required. These roles are supported for both Windows and Linux.
Client
On the jumphost, client PC you will be connecting to the Linux virtual machine from, you need the latest Azure CLI with the Azure CLI extension 'ssh' installed.
az extension add --name ssh
The minimum version required for the extension is 0.1.4.
az extension show --name ssh
Install Extension
Make sure the Virtual Machine is on, for the extension to install.
Install using the Azure Portal
Once the pre-requsites have been met, it is time to install the extension.
- Login to the Azure Portal
- Navigate to your CIS Hardened Virtual Machine
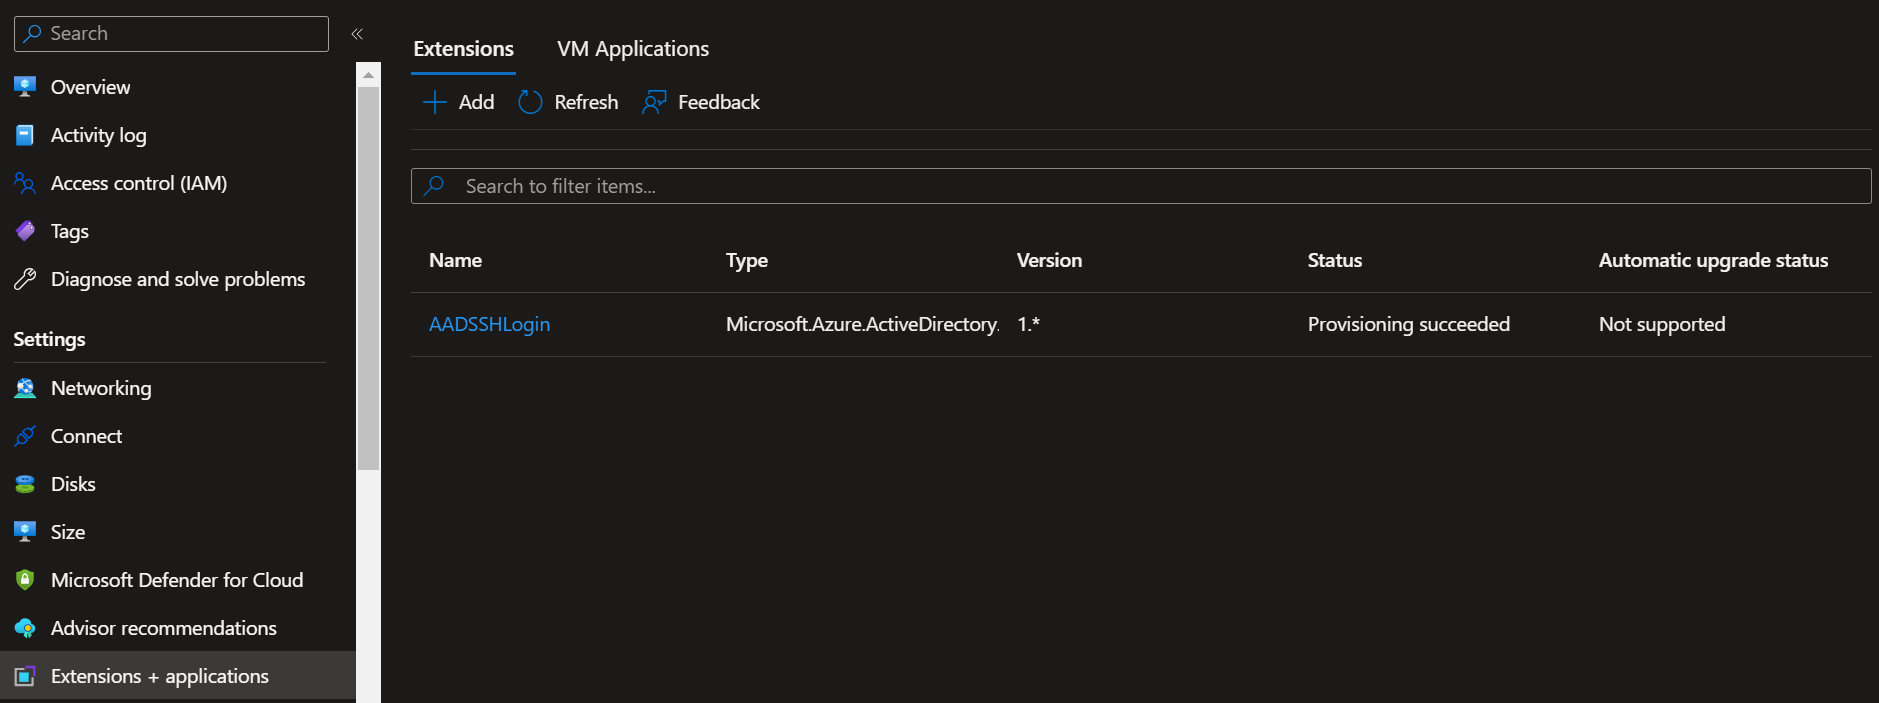
- Click on Extensions + Applications
- Click + Add
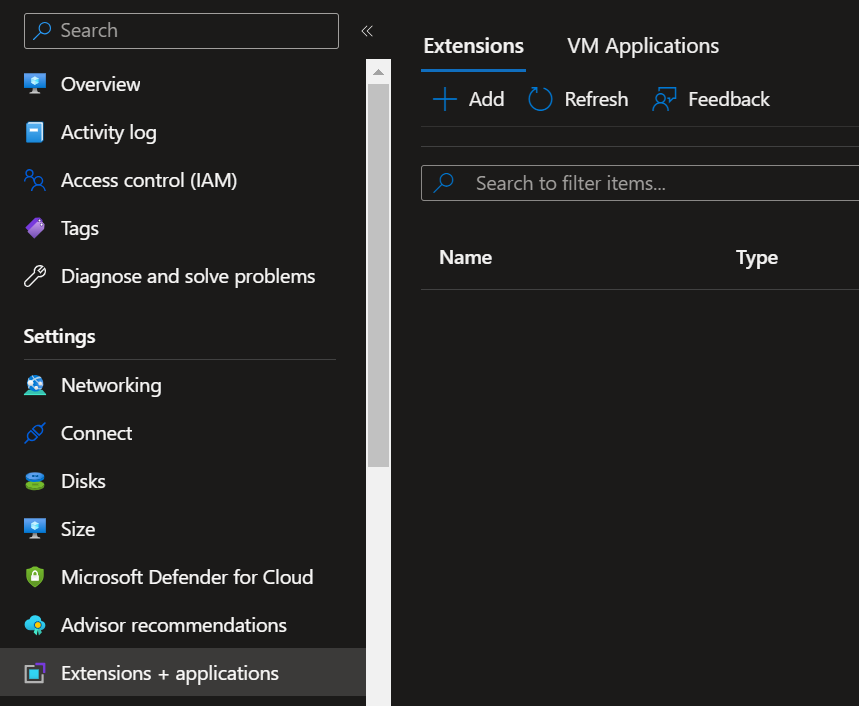
- Search for: Azure AD based SSH Login
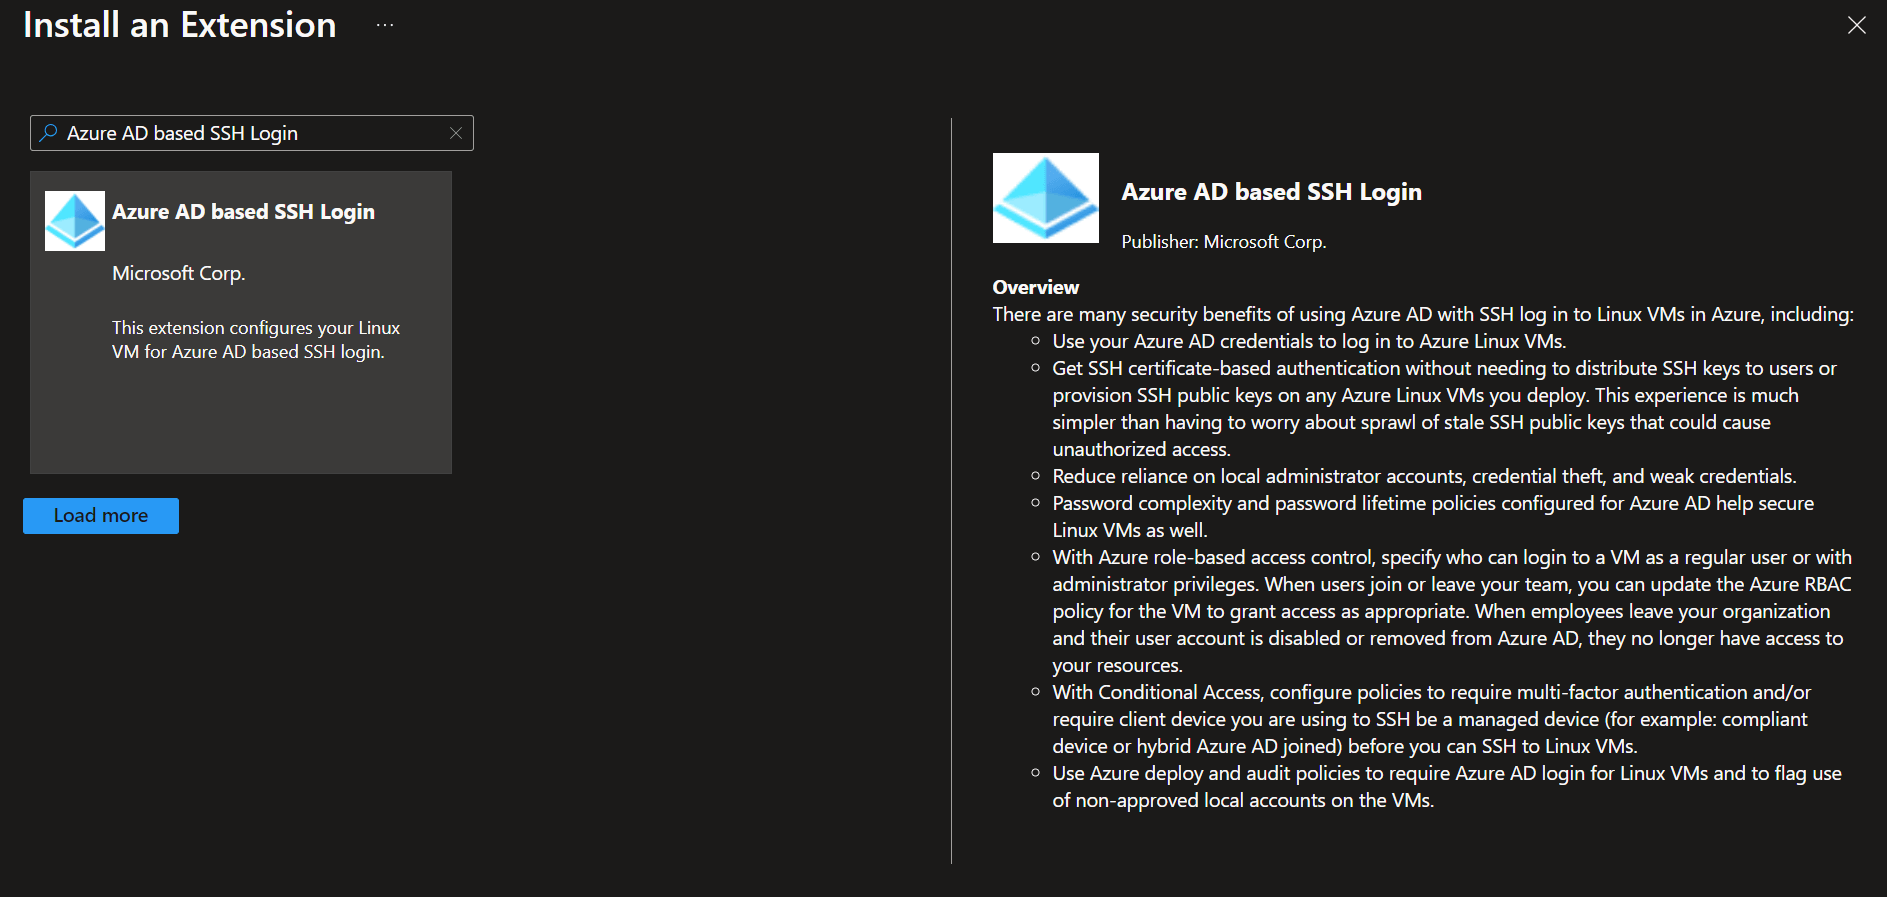
- Select the Azure AD base SSH Login extension
- Click Next
- Click Review and Create
- Click Create
After a few moments, the extension and supporting components, will be installed. You can check the status under the Extensions + Application blade make sure that Provisioning has been succeded, before provisioning to the next step to login.
You can use the following Terraform code snippet, to install the extension to a Linux Virtual Machine:
Make sure you assign the extension, to the virtual machine, using the ID.
resource "azurerm_virtual_machine_extension" "aad_login" {
name                 = "AADLogin"
virtual_machine_id   =
publisher            = "Microsoft.Azure.ActiveDirectory"
type                 = "AADSSHLoginForLinux" # For Windows VMs: AADLoginForWindows
type_handler_version = "1.0"                 # There may be a more recent version
}
Install using PowerShell
To install the AADLogin extension to a Linux Virtual Machine in Microsoft Azure using PowerShell, you can follow these steps:
-
Open PowerShell on your local machine, or Azure Cloud Shell.
Connect-AzAccount
Select-AzSubscription -SubscriptionName "Your Subscription Name"
$vm = Get-AzVM -ResourceGroupName "Your Resource Group Name" -Name "Your VM Name"
Set-AzVMExtension -ResourceGroupName $vm.ResourceGroupName -VMName $vm.Name -Name "AADLoginForLinux" -Publisher "Microsoft.Azure.ActiveDirectory.LinuxSSH" -Type "AADLoginForLinux" -TypeHandlerVersion "1.0"
Login to Virtual Machine
Now that the extension is stood, up its time to connect.
REMEMBER to make sure that the Entra ID (AAD) accounts you want to login to the Linux image is a member of either of the following roles, directly assigned to the Virtual Machine/Resource Group, or in an Entra ID (AAD) group that has been delegated the permissions.
| RBAC Role | Notes |
|---|
| Virtual Machine Administrator Login | View Virtual Machines in the portal and login as administrator |
| Virtual Machine User Login | View Virtual Machines in the portal and login as a regular user. |
- Open a Command Prompt
- Log in to the Azure using:
az login
- A web browser will prompt and ask you to authenticate, where you will go through the MFA (Multifactor Authentication) and complete login to your Entra ID account.
- Once authenicated you can run:
az ssh vm -n cistest -g cistest
Note: -n is the VM name and -g is the Resource Group, that the VM is located inside.
You should now have successfully authenticated to your Linux virtual machine using Entra ID credendials.
Troubleshooting
If you are unable to connect, it may be due to an issue with the AADSSHLogin extension. You can troubleshoot by reviewing the extension log.
cat /var/log/azure/Microsoft.Azure.ActiveDirectory.AADSSHLoginForLinux/CommandExecution.log
The Azure directory is protected, so you will need Administrator rights to delve into the logs.