Update your Azure WebApp to be Always On
By default, Azure Web Apps are unloaded if they are idle for a set period of time (20 minutes). This way, the system can conserve resources.
The downside is that the response to the first request after the web app is unloaded is longer, as the Web App has to load into memory and present itself, which could lead to a bad user experience.
To ensure that the Azure App Service Web App is running and always available to respond to incoming HTTP(S) requests, can be set the "Always On" configuration feature to "On".
Overview
By setting the "Always On" feature of the App Service Web App to “On”, will ensure that Azure will always keep an instance of the Web App running at all times. This way when a user/client hits the Azure Front Door endpoint, the back-end Web App will always be ready to respond to that request without timing out. This will ensure the application is always available even during times of low usage or inactivity. Azure will continuously ping the website to keep the website alive.
Enabling "Always On" keeps your Apps always loaded, even when there is no traffic. It’s required for example when using continuous Web Jobs or for Web Jobs that are triggered using a CRON expression, this feature is similar to the Internet Information Services (IIS) idle time-out property.
Disabling "Always On" makes your Apps unloaded if they are idle for a set period of time. This way, the system can conserve resources. This is the reason “Always On” is set as disabled by default.
You need a minimum of Basic and Standard App Service Tiers to enable "Always On"
Having "Always On" off or on does not affect your billing or pricing, the Azure App Service billing is done at the App Service Plan level, which is charged per hour that the App Service Plan exists and is running, this is charged whether you have a WebApp or its set to "Always On" or not.
Configure Always On
Note: Any changes to applications settings and connection strings could restart your application, so make sure that you schedule this during a period you can have an intermittent outage.
- Log in to the Azure Portal
- Find your App Service and open it
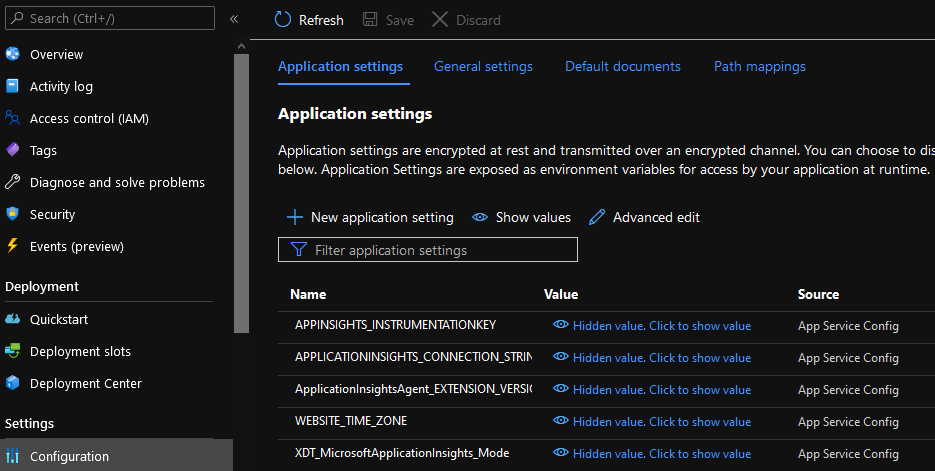
- In the left hand Blade, under Configuration, select General Settings

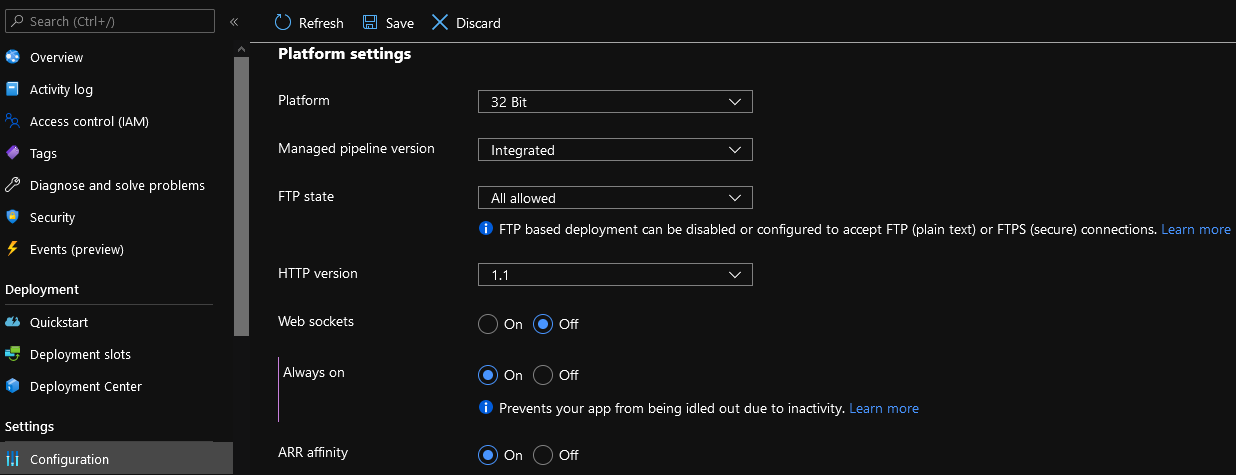
- Navigate down to Platform Settings and click 'On' to Always On

- Click Save
Configure Always On through Azure Policy
The Azure policy below, contains a set of 3 policies which used in combination should ensure that your web app is always on. Since the alwaysOn property is optional in the ARM deployment, a combination of 3 policies are required to ensure true compliance in the environment.
References
For more information about the "Always On" feature please see the documentation below:
