Azure Deployment history cleanup with Azure DevOps
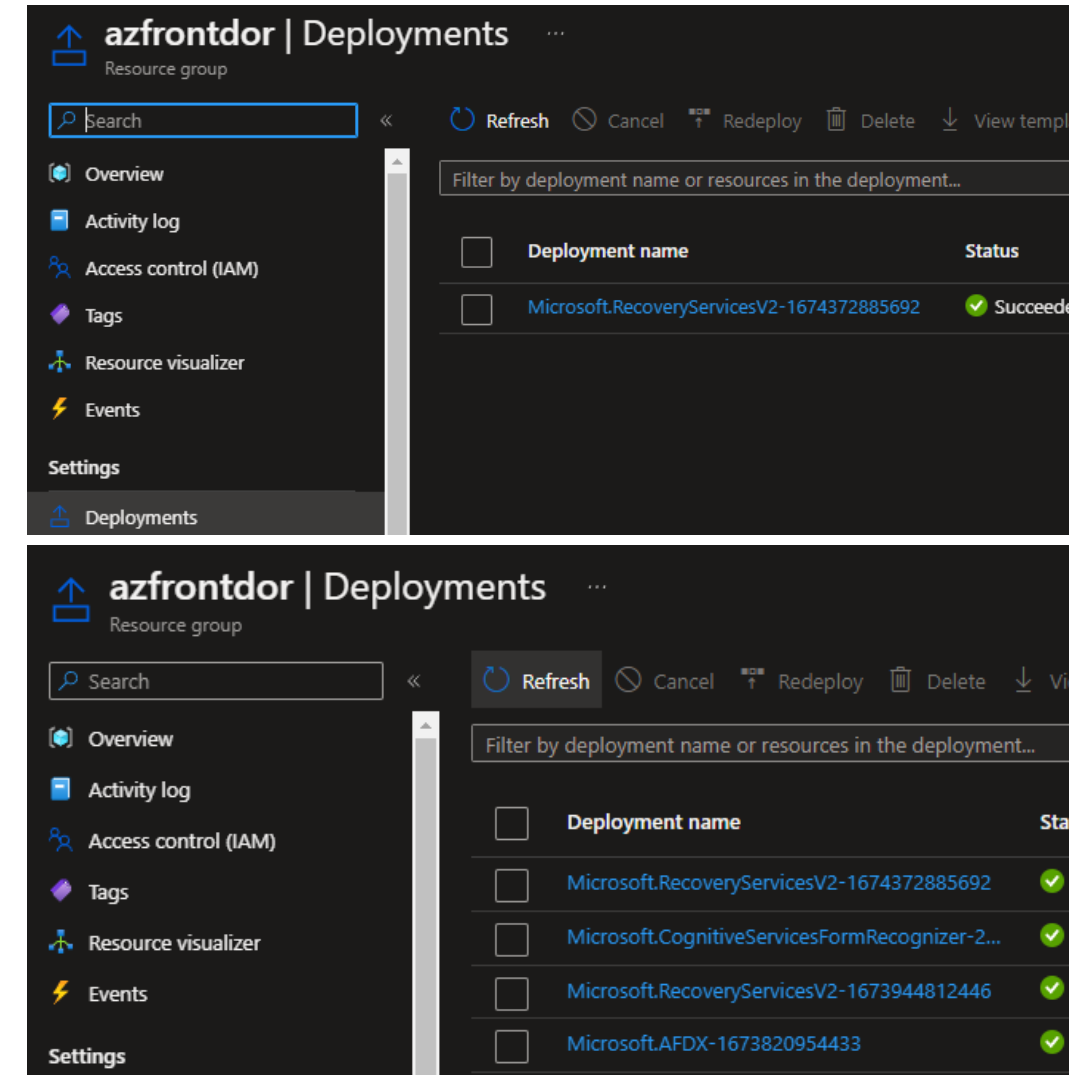
Microsoft Azure has a limit of 800 deployments per resource group. This means that a single resource group can only contain 800 historical deployments at most.
A deployment in Azure refers to the process of creating or updating resources in a resource group.
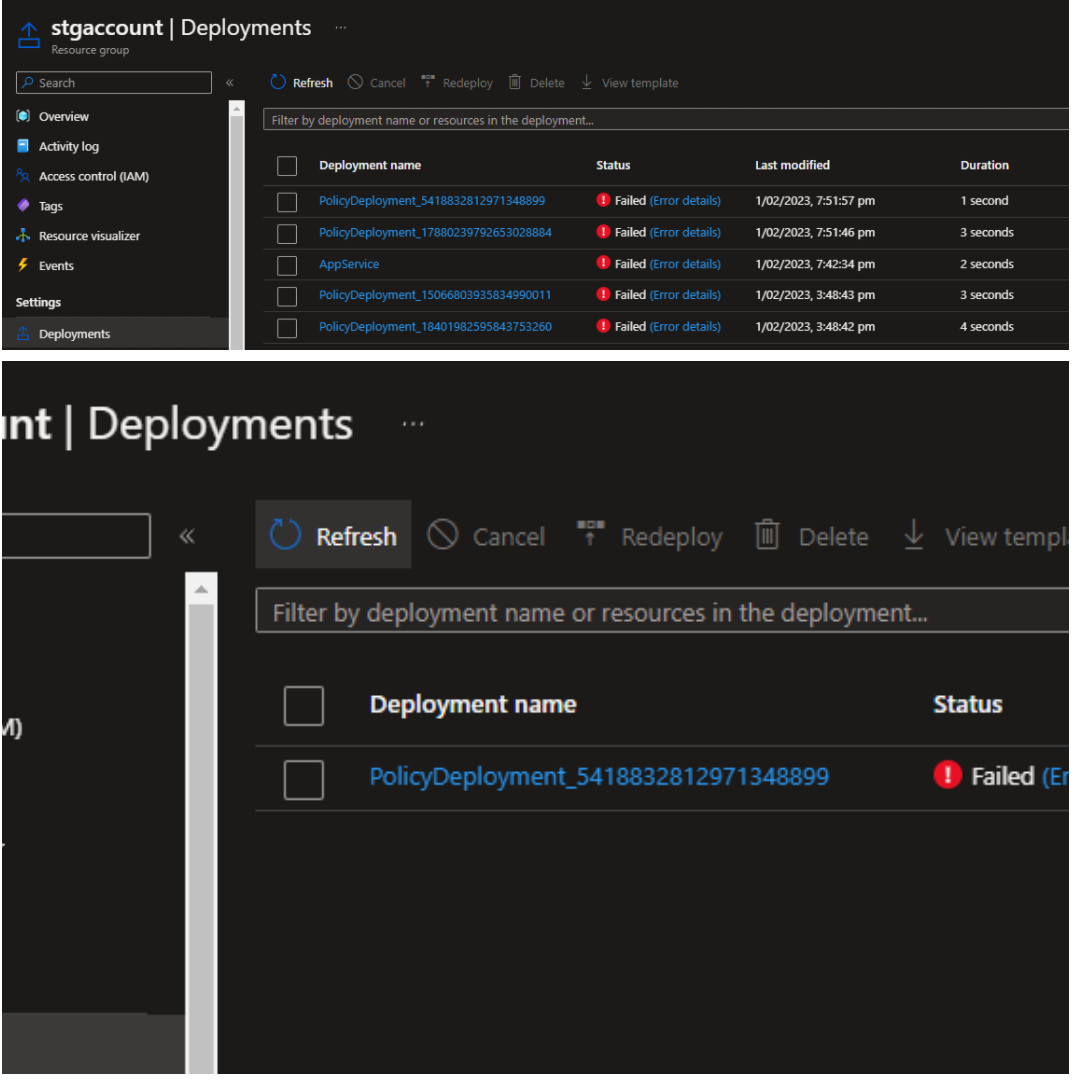
When deploying resources in Azure, it is essential to keep track of the number of historic deployments in a resource group to ensure that the limit is not exceeded. This is because new deployments will fail if the limit is exceeded, and creating or updating resources in that resource group will not be possible.
If you have CI/CD (Continuous Integration and Continuous Deployment) set up to deploy or change your infrastructure or services with code, it can be easy to reach this limit. Azure will attempt to do this automatically when reaching your limit. Still, you may want to pre-empt any problems if you make many deployments and the system hasn't had time to prune automatically, or this is disabed.
This came up in conversations on Microsoft Q&A, so I thought I would dig into it and put together a possible option.
To avoid exceeding the deployment limit, it may be necessary to clean up old deployments.
This can be done by using a script to remove deployments that are no longer needed.
So let's build an Azure DevOps pipeline that runs weekly to connect to our Microsoft Azure environment and clean up historical deployments.
For this article, I will assume you have an Azure DevOps repository setup and the permissions (Owner) to make the necessary privileged actions to the Microsoft Azure environment to do the design.
Note: Scripts and pipeline are "here".
Deploy and Configure
Create Service Prinicipal
- Navigate to the Microsoft Azure Portal
- Click on Microsoft Entra ID
- Click on App Registrations
- Click on: + New Registration
- Enter the following information:
- Name (i.e. SPN.AzDeploymentCleanup)
- Click Register
- Copy the following for later when we add the SPN to Azure DevOps.
- Application (client) ID
- Directory (tenant ID)
- Click on Certificates & Secrets
- Press + New Client Secret
- Enter a relevant description and expiry date and click Add
- Copy the value of the new secret (this is essentially your password), and you won't be able to see the matter again.
Create Custom Role & Assign permissions
Now that your service principal has been created, it is time to assign permissions because this script targets all subscriptions under a management group; we are going to set the permissions to that management group so that it flows to all subscriptions underneath it - and in the view of least privileged we will create a Custom Role to apply to our Service Principal.
Create Custom Role
For the deployment history to be completed, we will need the following permissions:
- Microsoft.Resources/deployments/delete
- Microsoft.Resources/subscriptions/resourceGroups/read
- Microsoft.Management/managementGroups/read
- Microsoft.Resources/subscriptions/read
- Microsoft.Management/managementGroups/descendants/read
- Microsoft.Management/managementGroups/subscriptions/read
- Microsoft.Resources/subscriptions/resourcegroups/deployments/operations/read
- Microsoft.Resources/subscriptions/resourcegroups/deployments/read
- Microsoft.Resources/subscriptions/resourcegroups/deployments/write
- Microsoft.Resources/deployments/read
- Navigate to the Microsoft Azure Portal
- In the search bar above, type in and navigate to Management Groups
- Click a management group, click on Access Control (IAM)
- Click + Add
- Click Add Custom Role
- Type in a role name (an example is: AzDeploymentHistoryCleanup)
- Check Start from Scratch and next click
- Click + Add permissions and the permissions above (you can search for them). Feel free to import the role from a JSON file "here".
- Click Next
- Add Assignable Scopes (this is the scope you can use to assign a role to - this won't give it to the Service Principal; it will only open it up so we can post it). Make sure you set it at the management group level you are targetting.
- Click Review + Create
- Click Create
Assign Permissions
Now that the custom role has been created, it is time to assign it to the service principal we made earlier.
- Navigate to the Microsoft Azure Portal
- In the search bar above, type in and navigate to Management Groups
- Click on the management group you want to manage and click on Access Control (IAM)
- Click Add
- Click Add Role Assignment
- Select your custom role (you can toggle the type column, so CustomRoles are first in the list)

- Click Members
- Make sure 'User, group or service principal' is selected and click + Select Members
 .
.- Select your Service Principal created earlier (i.e. SPN.AzDeploymentCleanup)
- Click Select
- Click Review + assign to assign the role.
Note: Copy the Management Group ID and name, as we will need the information, along with the Service Principal and tenant IDs from earlier, in the next step of setting up Azure DevOps.
Configure Azure DevOps Service Endpoint
Now that the Service Principal and permissions have been assigned in Azure, it's time to create the service connection endpoint that will allow Azure DevOps to connect to Azure.
- Navigate to your Azure DevOps organisation.
- Create a Project, if you haven't already
- Click on Project Settings
- Navigate to Service Connection
- Click on New service connection
- Select Azure Resource Manager
- Click Next
- Select Service principal (manual)
- Click Next
- For the scope, choose Group Management
- Enter the Management Group ID, the Management Group Name
- Time to enter in the Service Principal details copied earlier, for the Service Principal Id paste in the Application ID.
- The Service Principal key, enter the secret client value and select the Tenant ID
- Click Verify - to verify the connectivity to the azure platform from Azure DevOps
- Select Grant access permission to all pipelines and click Verify and save
Configure script and pipeline
Now that we have our:
- Azure Service Principal
- Custom role and assignment
- Service connection
We now need to import the script and pipeline.
If you haven't already done - create a Repo for the AzHistoryCleanup writing.
You can clone (or copy) the files in the AzDeploymentCleanup Repo to your own.
First, we need to copy the name of the Service Principal.
- Click Project settings
- Click Service Connections
- Click on your Service Connection and copy the name (i.e. SC.AzDeploymentCleanup)
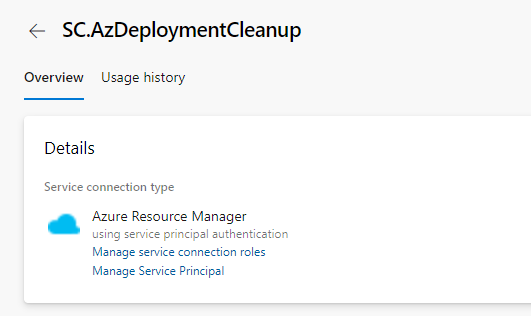
- Navigate back to your Repo, and click on AzDeploymentCleanup.yml (this will become your pipeline)
- Click Edit
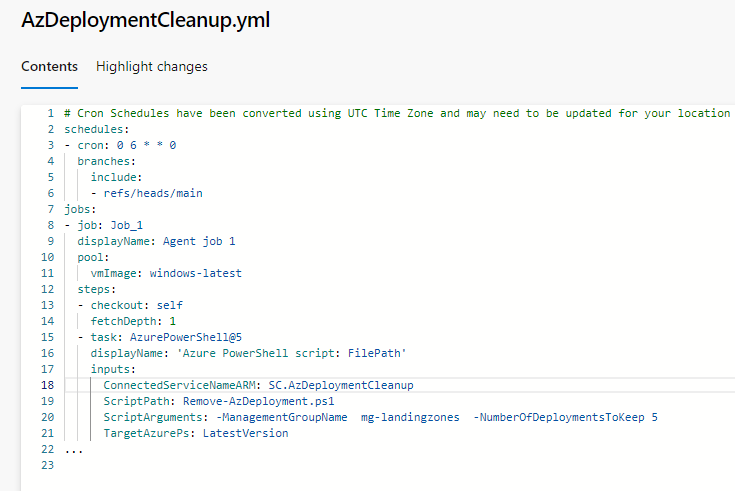
- Update the variable for ConnectedServiceNameARM to the name of your service connection
- Here you can also edit the Script Arguments - for example, in my demo, I am targeting the ManagementGroup named: mg-landing zones and keeping the latest five deployments.
- By default, I also have a cron job to schedule this pipeline at 6 AM UTC every Sunday, and you can remove or edit this.
- Once your changes are made, click Commit.
- Now that your pipeline has been updated, its time to create it - click on Pipelines.
- Click New Pipeline
- Select Azure Repos Git (YAML)
- Select your Repo
- Select Existing Azure Pipelines YAML file
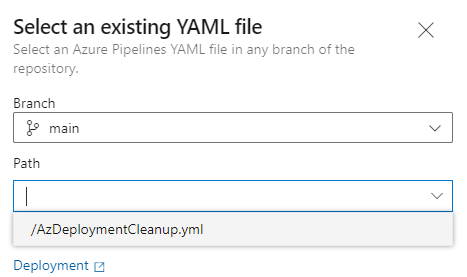
- Select your Pipeline YAML file and click Continue
- Click Save to create the pipeline
- Now it's time to run the pipeline! Click Run pipeline
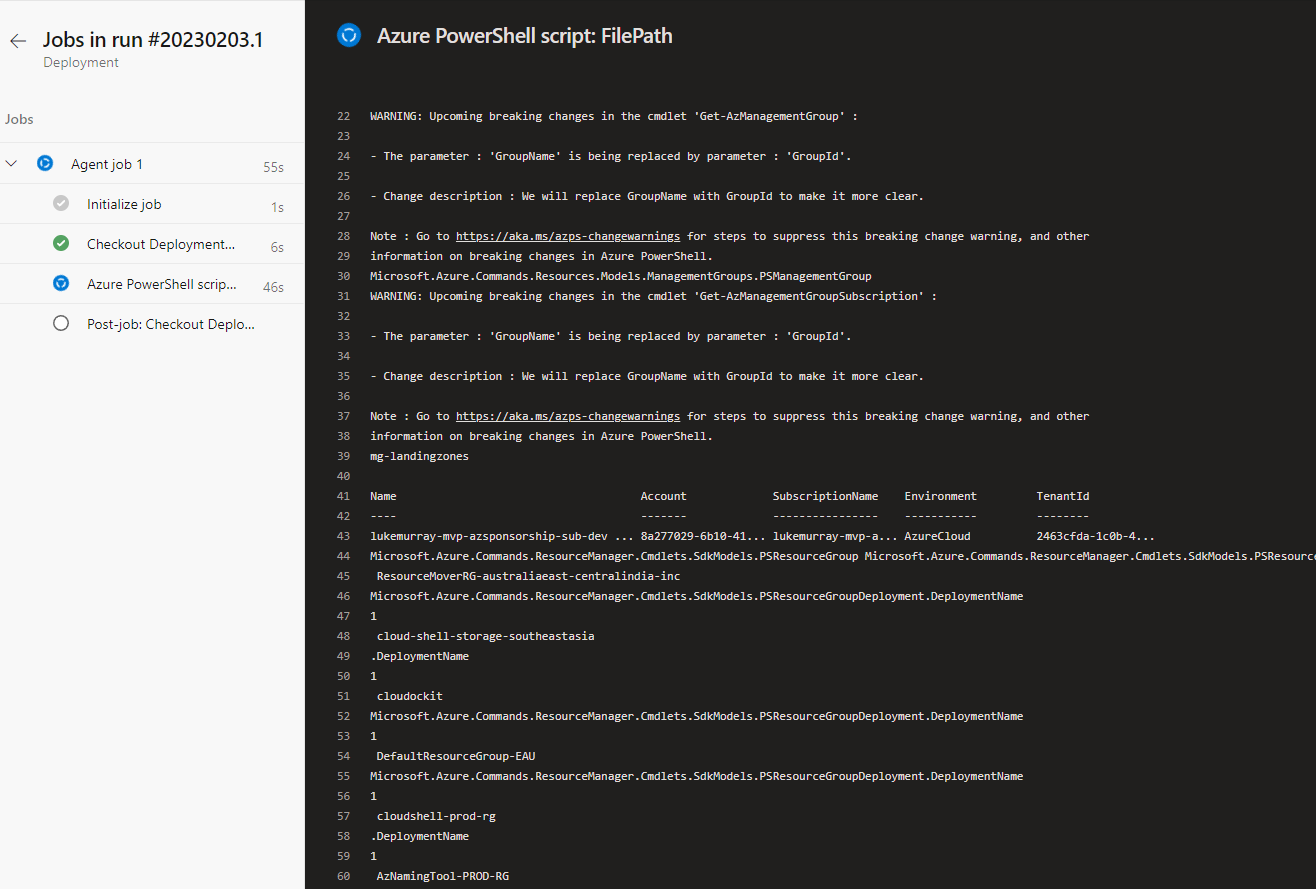
- If successful, your script will trigger and clean up the oldest deployment history! This can take several minutes to run if you have a lot of deployments.
