Coding on the Cloud - Getting Started with GitHub Codespaces
Github Codespaces gives you the full capability of your favourite IDE (Integrated Development Environment) like Visual Studio Code, Jupyter, or JetBrains and an extension, to your web browser. With it, you can develop your applications without needing any dependant service or tool installed or configured locally, giving developers a standard way of working on applications and scripts.

Github Codespaces does this by leveraging the power of the Cloud and GitHub to run containers that you can personalize to run your IDE, extensions, and any dependencies that you may need, whether you are a developer needing Python, apache, react, or a devops engineer requiring Bicep and Terraform support, Codespaces is an ideal enabler for our toolkit, in fact, this article was written in a Github Codespace, using Visual Studio Code and Markdown extensions.
A codespace is a development environment that's hosted in the cloud. You can customize your project for GitHub Codespaces by configuring dev container files to your repository (often known as Configuration-as-Code), creating a repeatable codespace configuration for all project users. GitHub Codespaces run on various VM-based compute options hosted by GitHub.com, which you can configure from 2-core machines up to 32-core machines. You can connect to your codespaces from the browser or locally using an IDE like Visual Studio Code or IntelliJ.
Let's delve into Github Codespaces a bit more!
Introduction
GitHub Codespaces is a cloud-based development environment provided by GitHub, designed to enhance the coding experience and streamline collaboration for developers. It allows you to create, manage, and access your development environments directly from your web browser. With GitHub Codespaces, you can code, build, test, and debug your projects without setting up complex local development environments on your machine.
Key features and benefits of GitHub Codespaces include:
- Access Anywhere: You can access your coding environment from anywhere with an internet connection. This is particularly useful for remote work, collaboration, and coding on the go.
- Consistency: Codespaces ensure consistency across development environments, which can help avoid the "it works on my machine" issue often encountered in software development.
- Collaboration: Multiple developers can collaborate on the same Codespace simultaneously, making it easier to pair programs, review code, and troubleshoot together in real-time.
- Isolation: Each project or repository can have its own isolated Codespace, preventing conflicts between dependencies and configurations.
- Quick Setup: Setting up a development environment is quick and easy. You don't need to spend time installing and configuring software locally.
- Configurability: Codespaces can be customized with extensions, tools, and settings to match your preferred development environment.
- Scalability: GitHub Codespaces can scale according to your needs, making it suitable for individual developers and larger teams.
- Version Control Integration: Codespaces is tightly integrated with GitHub repositories, making it seamless to switch between your code and the development environment.
- Security: Codespaces offer a secure environment for development, as it doesn't store sensitive data and is protected by GitHub's security measures.
- Project Setup: Codespaces can be configured to automatically set up a project with required dependencies and tools, reducing the time needed to get started.
Github Codespaces went into general availability on August 2021 and is built on top of the devcontainers schema.
Prerequisites
You need a Github account to use GitHub Codespaces.
GitHub Codespaces are available for developers in every organization. However, organizations can choose whether codespaces created from their repositories will be user-owned or organization-owned.. All personal GitHub.com accounts include a monthly quota of free usage each month.
GitHub will provide users in the Free plan 120 core hours, or 60 hours of run time on a two core codespace, plus 15 GB of storage each month.
For further pricing information, make sure you review:
Pricing, features and offerings could change at any time. For the most up-to-date information, make sure you review the documentation on github.com.
To use GitHub Codespaces, you need an active repository; by default, Github Codespaces is configured for the repository you set.
You will also need a supported browser (the latest versions of Chrome, Edge, Firefox, or Safari are recommended) to view your IDE; in this article, we will be using Visual Studio Code.
Setting Up GitHub Codespaces
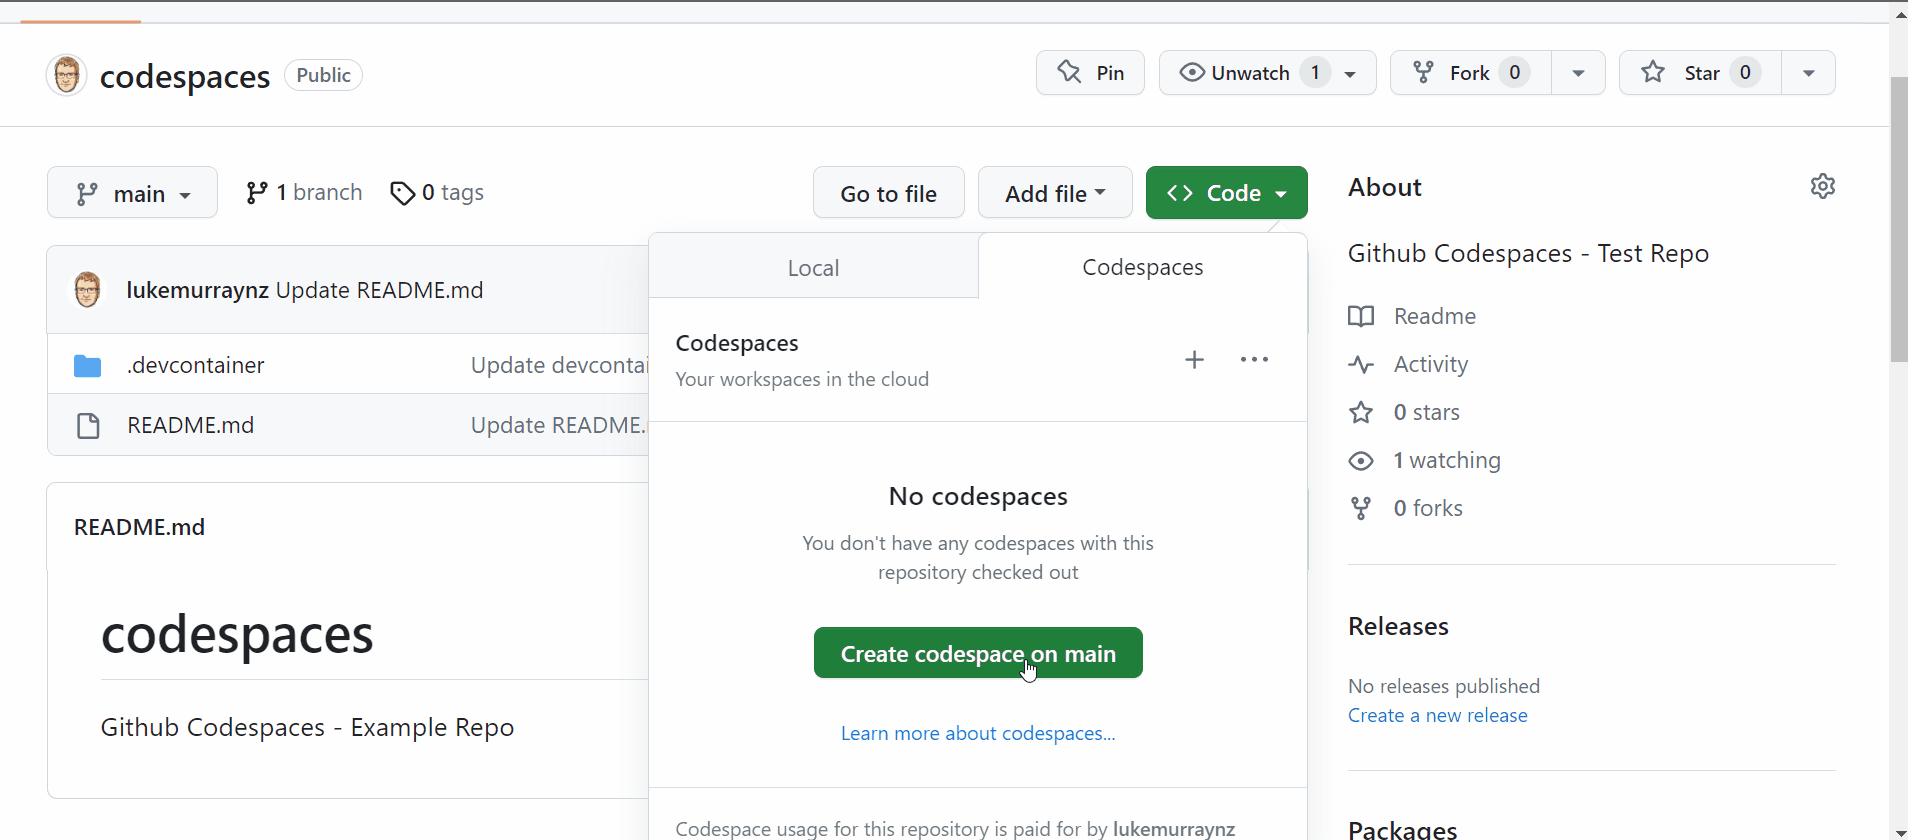
Github Codespaces can be accessed directly from the GitHub interface.
- Navigate to a new repository
- Click Code
- Click + in the Codespaces tab to open a new Codespace on your repo, by default a Visual Studio Code instance will open in your browser; note the 'funky' name and URL that create to give you a unique container.
Note: Don't worry; nothing is saved to your repository unless you want to commit any changes.
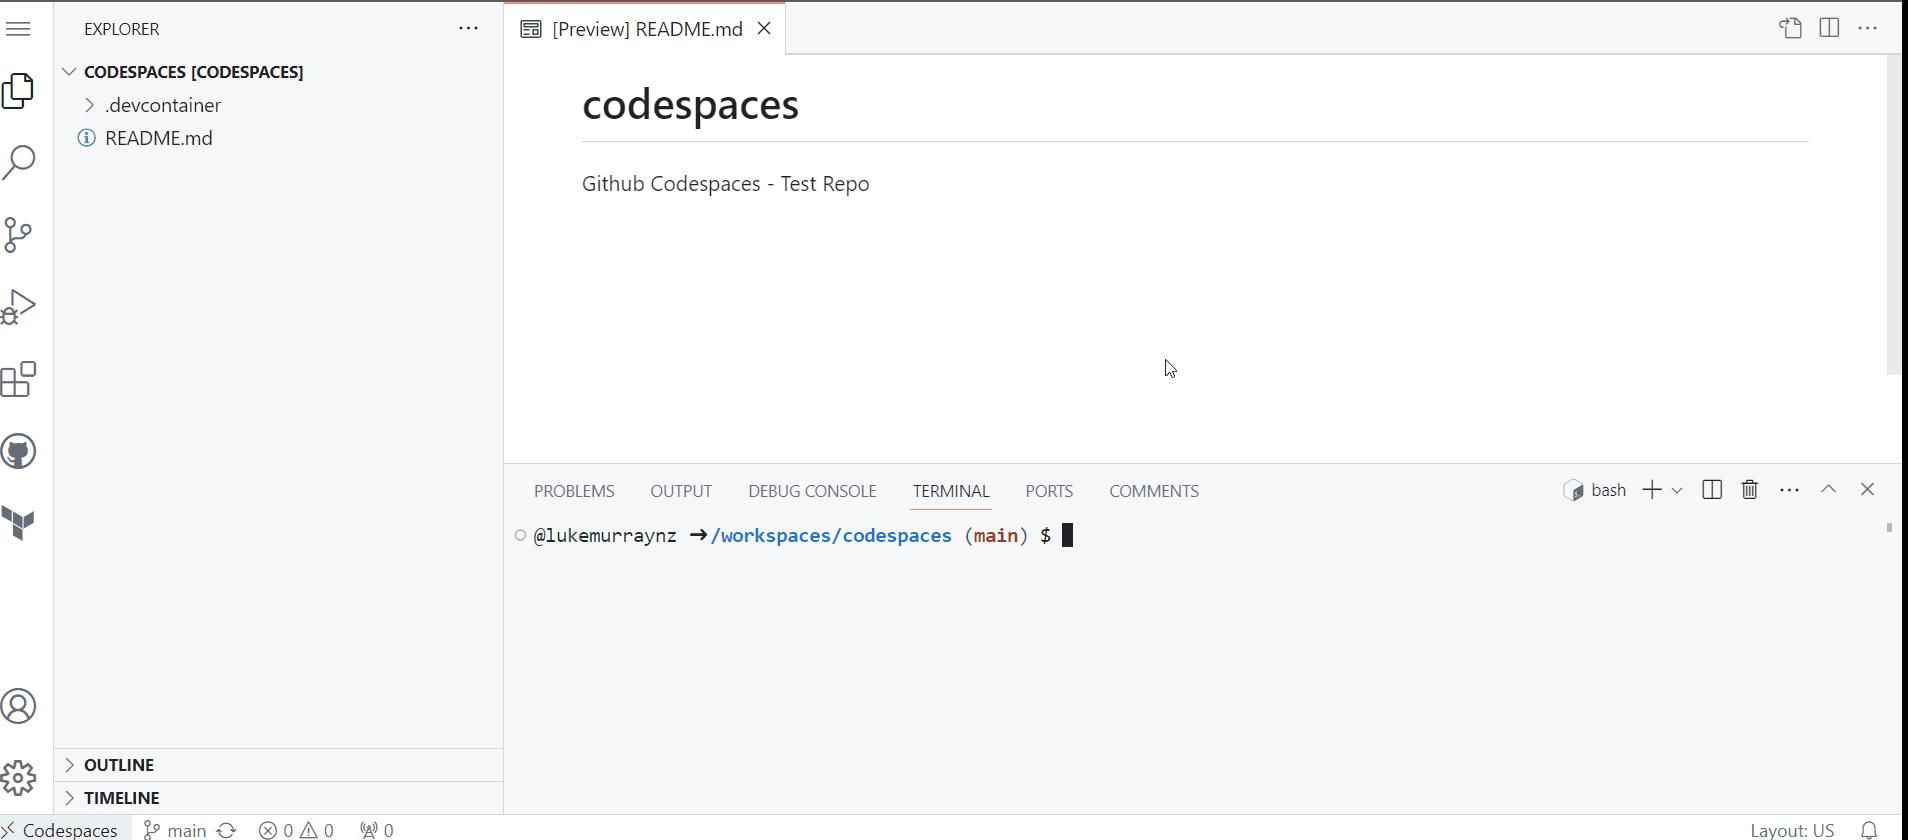
Your Codespace is now started and running in a default GitHub-supplied development container.
A development container is a running Docker container with a well-defined tool/runtime stack and its prerequisites.
Exploring the Interface
Once you have your Codespace running, you have access to most native Visual Studio Code capability's and all the files in your repository.

We now have our workspace, consisting of Visual Studio code, running in your own docker container! The Host field (lower left) indicates that you are running in a Codespace.
Out of the box, Visual Studio Code has git integration, so you can easily commit any changes to the repository as you would if you were working from your local development workstation - this is critical to remember when making a change to your devcontainer configuration - you have to commit it before you can rebuild or you will lose your configuration (we will get to this further in the article).
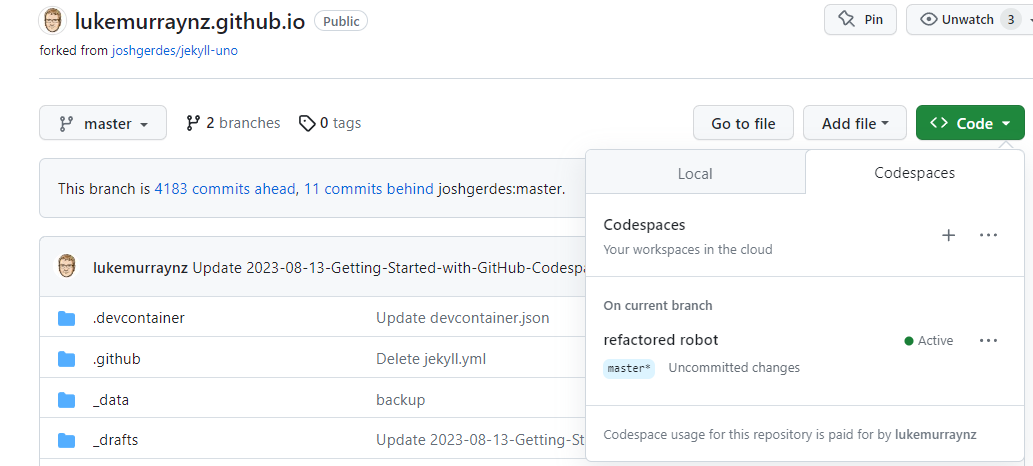
As its runs in a hosted container, you can switch easily between computers and browsers by opening the Codespace (the same way you created your Codespace, but instead selecting an already running instance) or copying the URL of your Codespace and log back into Github on another computer to go directly to the container instance:
If you leave your Codespace running without interaction, or if you exit your codespace without explicitly stopping it, the codespace will timeout after a period of inactivity and stop running. You can adjust the timeout of your codespace to a maximum of 240 minutes (4 hours) for new Codespaces, but keep in mind you will be charged unless the Codespace is stopped. If the Codespace remains inactive for some time, it could be deleted. You should get an email notification before this happens, but I suggest keeping an eye on your Codespace and ensuring it's only running when needed.
Warning: Codespaces compute usage is billed for the duration a codespace is active. If you're not using a codespace that remains running and hasn't yet timed out, you are billed for the total time that the codespace was active, irrespective of whether you were using it. For more information, see "About billing for GitHub Codespaces."
As with any Visual Studio Code instance, you can also log in to your GitHub account to pull your settings and extensions, but to keep things clean and distraction-free, you can customize your Codespace instead for only what you or others working in the same repository need.
Customizing Your Codespace
You can customize your Codespace to suit the project you are working on; some examples I use personally are:
- Markdown editing (for example, my website is hosted on Github Pages, and the formatting is done using Markdown, so I have a devcontainer preconfigured to run Markdown Visual Studio Code extensions and linting, so as soon as I open it - its good to go!)
- Infrastructure as Code development (I have preconfigured devcontainer, running on a container, that has the latest version of PowerShell, Terraform, Bicep installed and relevant Visual Studio extensions)
I used to install everything locally, to the point when I would be reinstalling Windows every few months. To keep my device clean, I moved to an Azure Virtual Desktop host as my development environment, but Codespaces now give me the flexibility to install what I need (when I need it) within a Linux environment, and I know when I rebuild the Codespace, I will have the latest libraries.
There are a lot of customisation you can do, we won't be able to cover all possible customisations in this article, but I aim to cover the basics to get you up and running!
Setting Sync
Before delving into some of the customisation of the devcontainer configuration itself, let us remember the Visual Studio Code settings sync.
If you are someone who works on the same products and services and has invested time in configuring Visual Studio profiles, there's nothing indicating that you can't use this in a Github Codespace, especially if it is a trusted repository.
You will already be logged into Visual Studio Code with your GitHub account; you can turn on Setting Sync to have your Visual Studio code settings and profiles sync straight into your devcontainer.
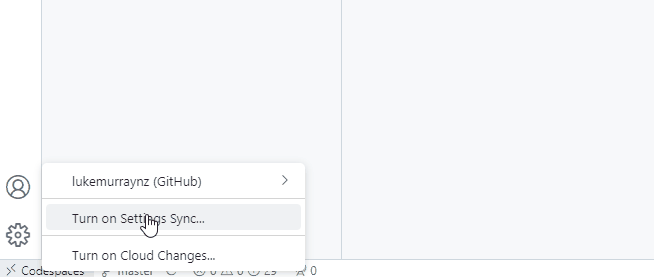
One of the downsides of this method is the container can get bloated with extensions and configurations you don't need, and you will have to turn on Setting Sync each time a Codespace is launched.
Setting Sync is an easy way to import your configuration from your Desktop into the Cloudspace.
Codespace templates
Instead of spending time, developing your template, you may find a devcontainer template already exists for your use case; some examples consist of:
- Ruby on Rails
- React
- Juypter Notebooks and more.
These Codespace Templates can easily be launched from the web browser and are a great resource to test the power of Codespace and refer to when customising your own devcontainer.
See devcontainers/template-starter and devcontainers/feature-starter for information on creating your own!
Devcontainers
Within each customised Codespace is a "devcontainer.json" json file, and some containers will have a dockerfile.
These files will sit inside a /.devcontainer/ folder at the root of your git repository. It is worth noting that you can have multiple devcontainer files within a single repository; you will be prompted which one to be used when you start the Codespace up.
These files are crucial to customising your devcontainer.
Although they serve different purposes they can work standalone or together to create a consistent and reproducible development environment for your project.
| File | Purpose |
|---|---|
| devcontainer.json | The devcontainer.json file configures how your development environment is set up within the Docker container when using the Remote - Containers extension. |
| dockerfile | The dockerfile defines the environment you need for your project. When you create a Codespace, GitHub will use the specified Dockerfile to build a container image that includes all the tools, libraries, and configurations required to work on your project. |
When you open your project in a GitHub Codespace that uses a devcontainer.json file, Visual Studio Code will automatically detect the configuration and set up your development environment according to the specified settings.
You can use a dockerfile to define the environment you need for your project. When you create a Codespace, GitHub will use the specified Dockerfile to build a container image that includes all the tools, libraries, and configurations required to work on your project.
Even without using a dockerfile, you can install any dependant libraries onto your codespace, but they are lost when the container gets rebuilt; there are certain approved features you can add to your devcontainer file that will be installed when a container is launched, which is great when making sure you are working on with the latest component.
The idea with both these files is to keep them lean and make sure that you are running the components you only need. To keep launch time and performance as quick as possible, it is possible to 'prebuild' your image if it is largely complex, but we won't be covering that here.
devcontainer.json
Let us take a look at the 'devcontainer.json' file. As Codespaces uses the devcontainer schema, all the customisations offered such as:
- entrypoint
- onCreateCommand
- customizations
- features
Can be used, offering a vast range of customisation opportunities to suit your needs.
For most purposes, you may be able to find you can get away with a devcontainer.json file without having to delve into building your own dockerfile.
Let us look into the devcontainer.json file I am using for this blog article:
// For format details, see https://aka.ms/devcontainer.json. For config options, see the
// README at: https://github.com/devcontainers/templates/tree/main/src/markdown
{
    "name": "Markdown Editing",
    // Or use a Dockerfile or Docker Compose file. More info: https://containers.dev/guide/dockerfile
    "image": "mcr.microsoft.com/devcontainers/base:bullseye",

    // Features to add to the dev container. More info: https://containers.dev/features.
    // "features": {},

    // Configure tool-specific properties.
    "customizations": {
        // Configure properties specific to VS Code.
        "vscode": {
            // Add the IDs of extensions you want to be installed when the container is created.
            "extensions": [
                "yzhang.markdown-all-in-one",
                "streetsidesoftware.code-spell-checker",
                "DavidAnson.vscode-markdownlint",
                "shd101wyy.markdown-preview-enhanced",
                "bierner.github-markdown-preview"
            ]
        }
    }

    // Use 'forwardPorts' to make a list of ports inside the container available locally.
    // "forwardPorts": [],

    // Use 'postCreateCommand' to run commands after the container is created.
    // "postCreateCommand": "uname -a",

    // Uncomment to connect as root instead. More info: https://aka.ms/dev-containers-non-root.
    // "remoteUser": "root"
}
This was from an already existing template, that had everything I needed from: devcontainers/templates.
A few things stand out:
- image
- customizations
- features
- The image is the docker image, that this Codespace is running.
- Customizations are application-specific customisations, in my example vscode, and the extensions that are automatically provisioned for me when I started this codespace.
- Features, which are currently blank, but will allow us to run scripts to install any relevant dependencies when the container is started.
This json file is a great reference point, as we go into creating our own. You can create your own devcontainer.json file - or we can do it within the devcontainer itself using the Codespaces extension, preinstalled into your new Codespace.
In our newly created Codespace from the Setting up Codespace step earlier, it's time to create our own devcontainer. The project we will be working on will be Terraform development, so we want to customise our own codespace for Infrastructure as Code development.
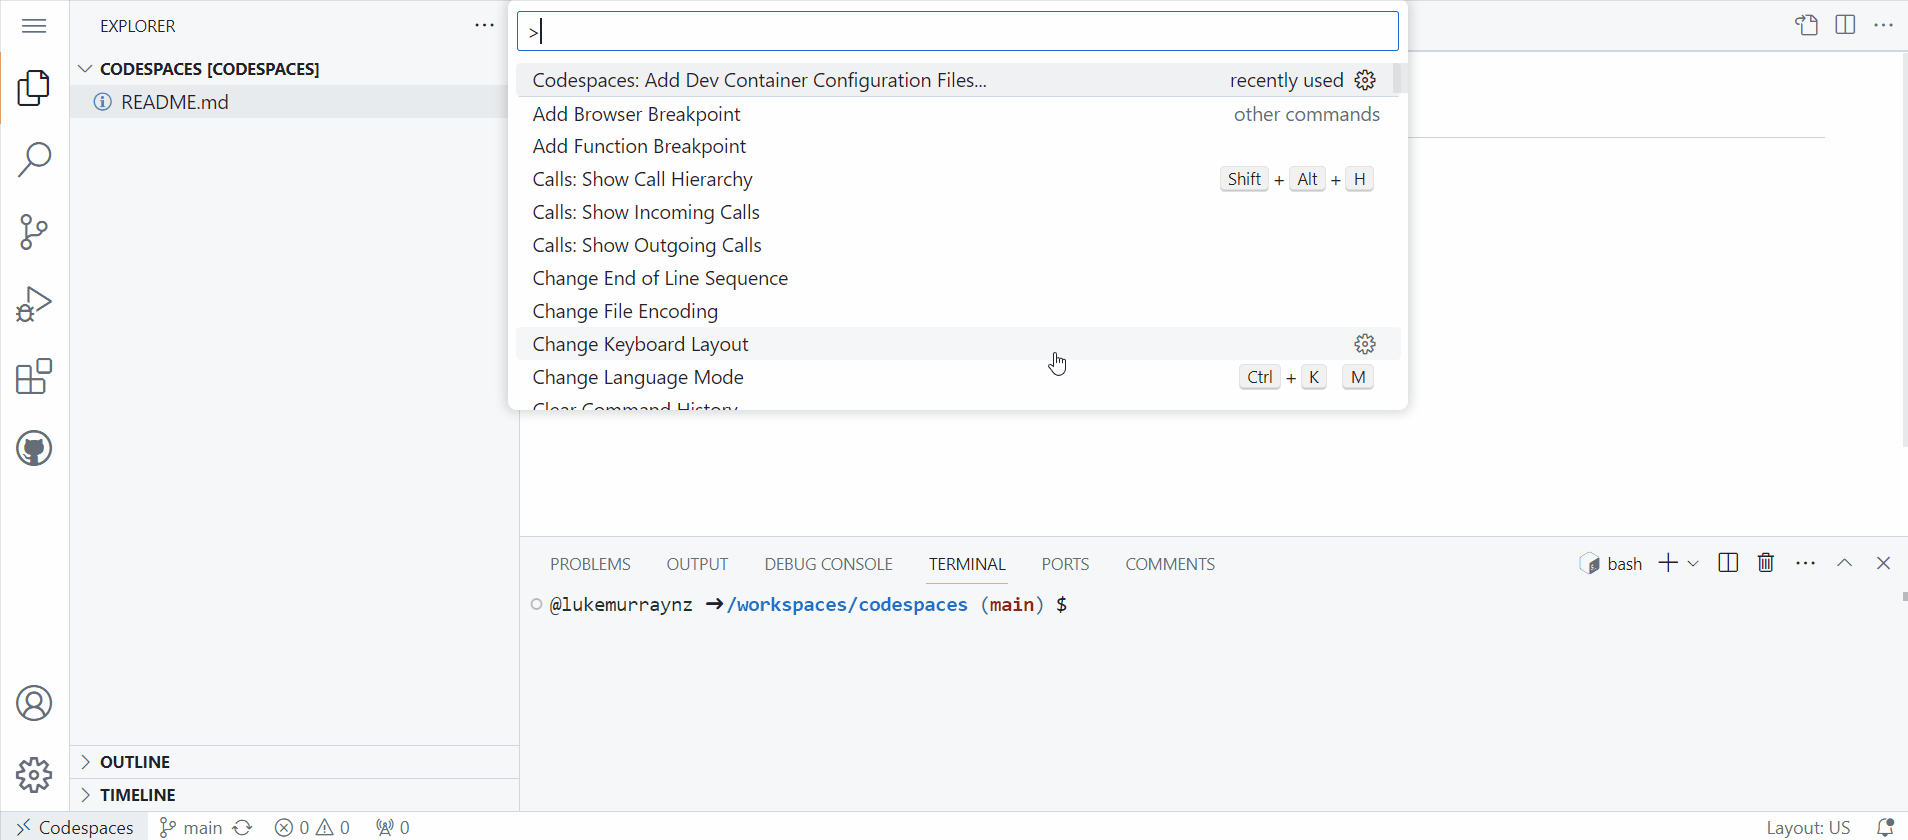
- Press Ctrl+Shift+P (or click View, Command Palette)
- Type in: Codespaces (with the codespaces commands you can rebuild your container, resize and modify your codespace)
- Select Add Dev Container Configuration Files
- Select Create a new Configuration
- Type in Ubuntu
- Select the latest version (or default)
- In the features list we have the option to install third-party tools and dependencies that will be installed when we launch our Codespace, search for Terraform
- Select Terraform, tflint, and TFGrunt
- Click Ok
- Select Configure Options
- Check the installTFsec and instalLTerraformDocs
- Click Ok
- Select the latest Terraform version
- Select the latest Tflint version
This will now create a devcontainer json file, using a base Ubuntu image, with the latest version of Terraform, tflint and Terragrunt installed!
Make sure you save and commit the devcontainer.json file to the repository! You have now created your first custom codespace.
You can now rebuild your container, to run inside your Terraform container:
- Press Ctrl+Shift+P (or click View, Command Palette)
- Type in Codespaces
- Select Full Rebuild Container
- Accept the prompt. that it will be rebuild with the devcontainer configuration.
- GitHub Codespaces will then grab the Ubuntu image, and the Terraform feature and run.
Note: If the build fails, at the time of writing, there looked to be an issue with the latest version of terragrunt, I pined it to this specific version: 0.48.0, and it fixed it. So edit the JSON file and update latest to the version. Feel free to review my example codespace here: lukemurraynz/codespaces.
- Once loaded, I can immediately run 'terraform init'
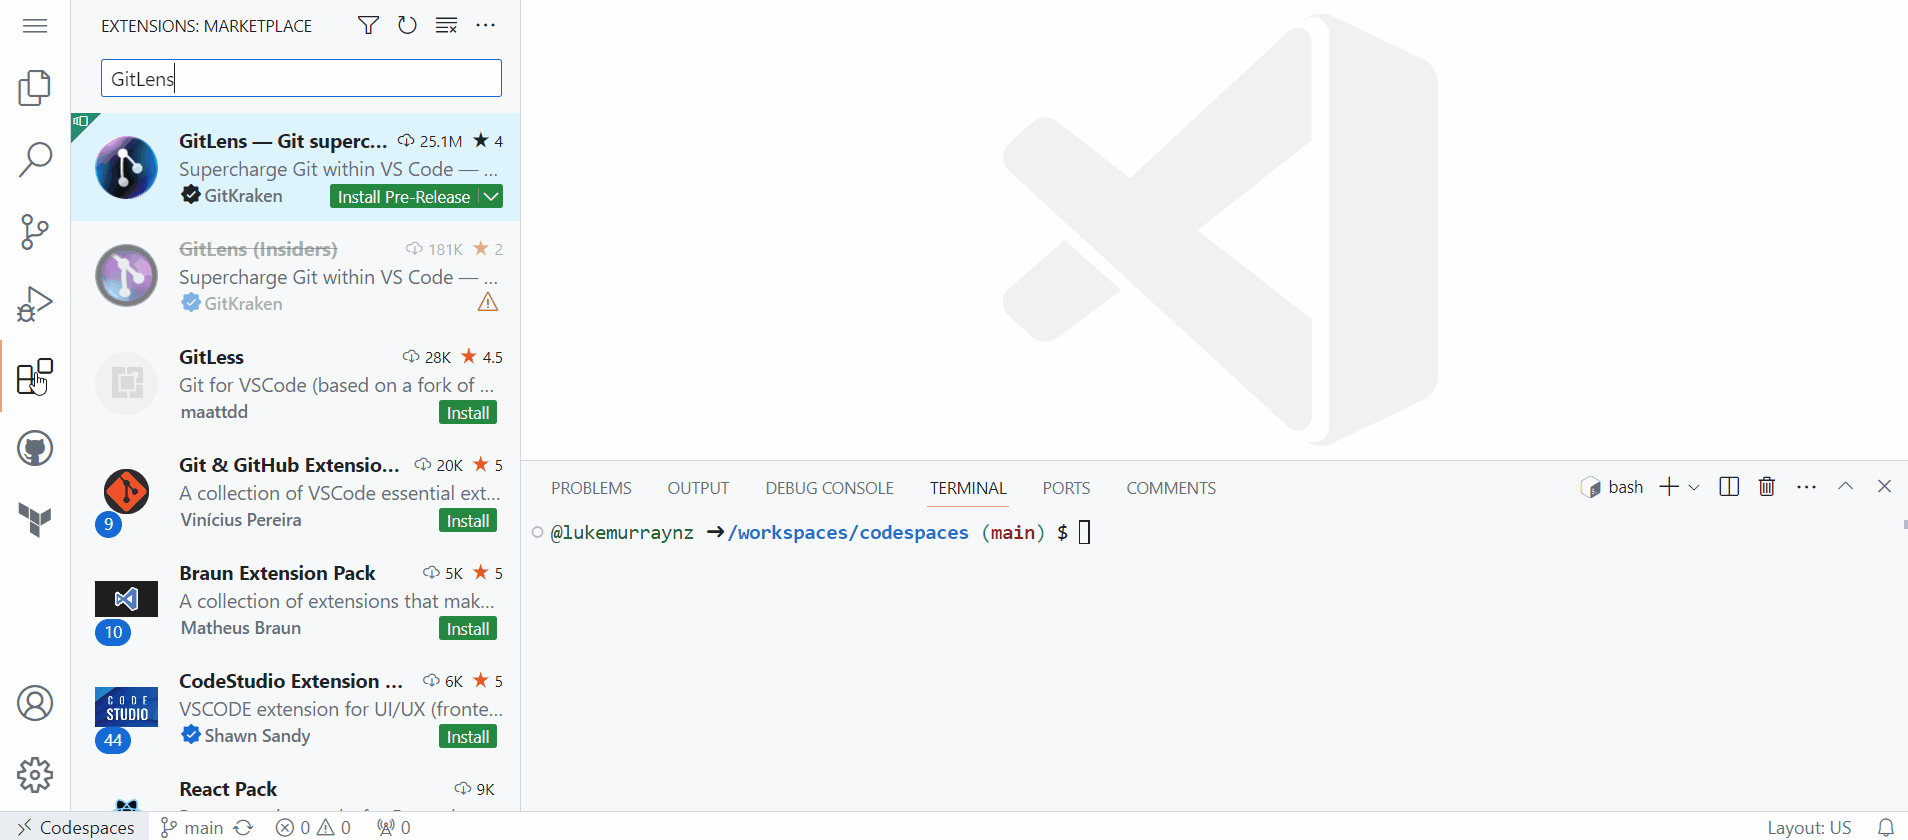
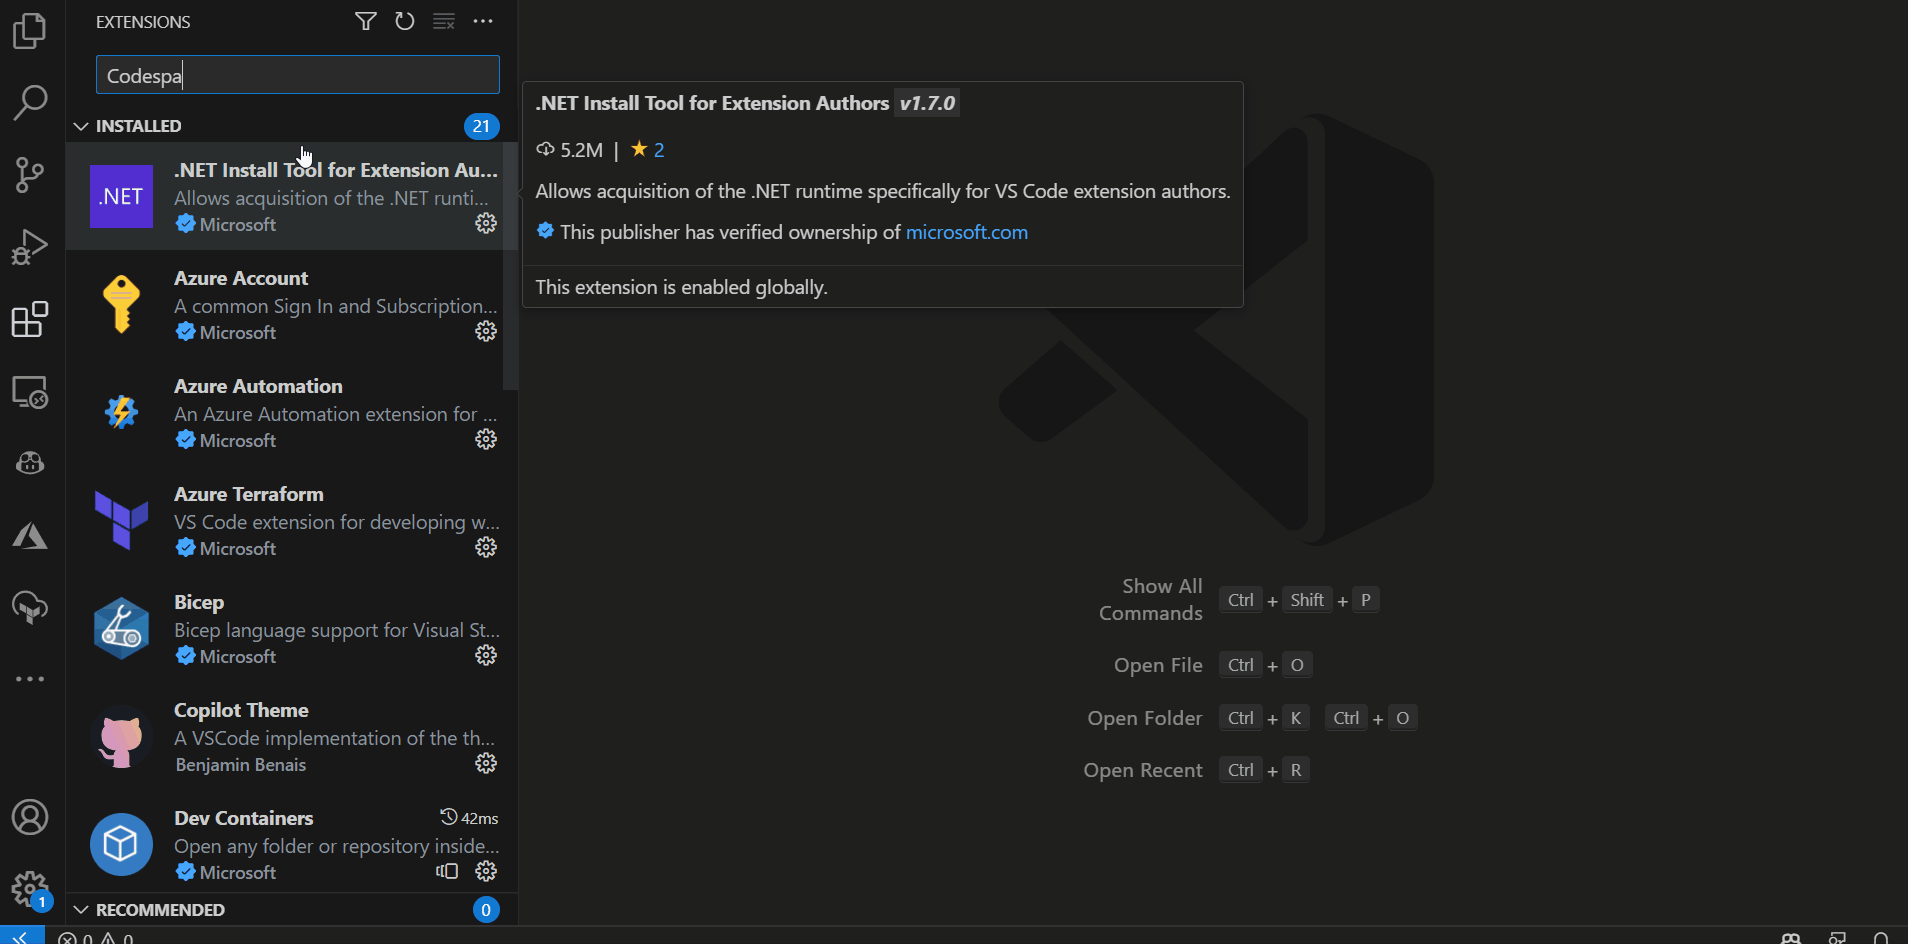
Now that we have Terraform installed, the Azure Terraform and HashiCorp extension - we may want the GitLens extension, to help with working with other developers, so let us add this!
- Navigate to the Extensions
- Search for GitLens
- Right click the extension button and select 'Add to devcontainer.json'
- Then commit your save, you have now added the GitLens extension into your devcontainer, this will automatically be installed on your next rebuild.
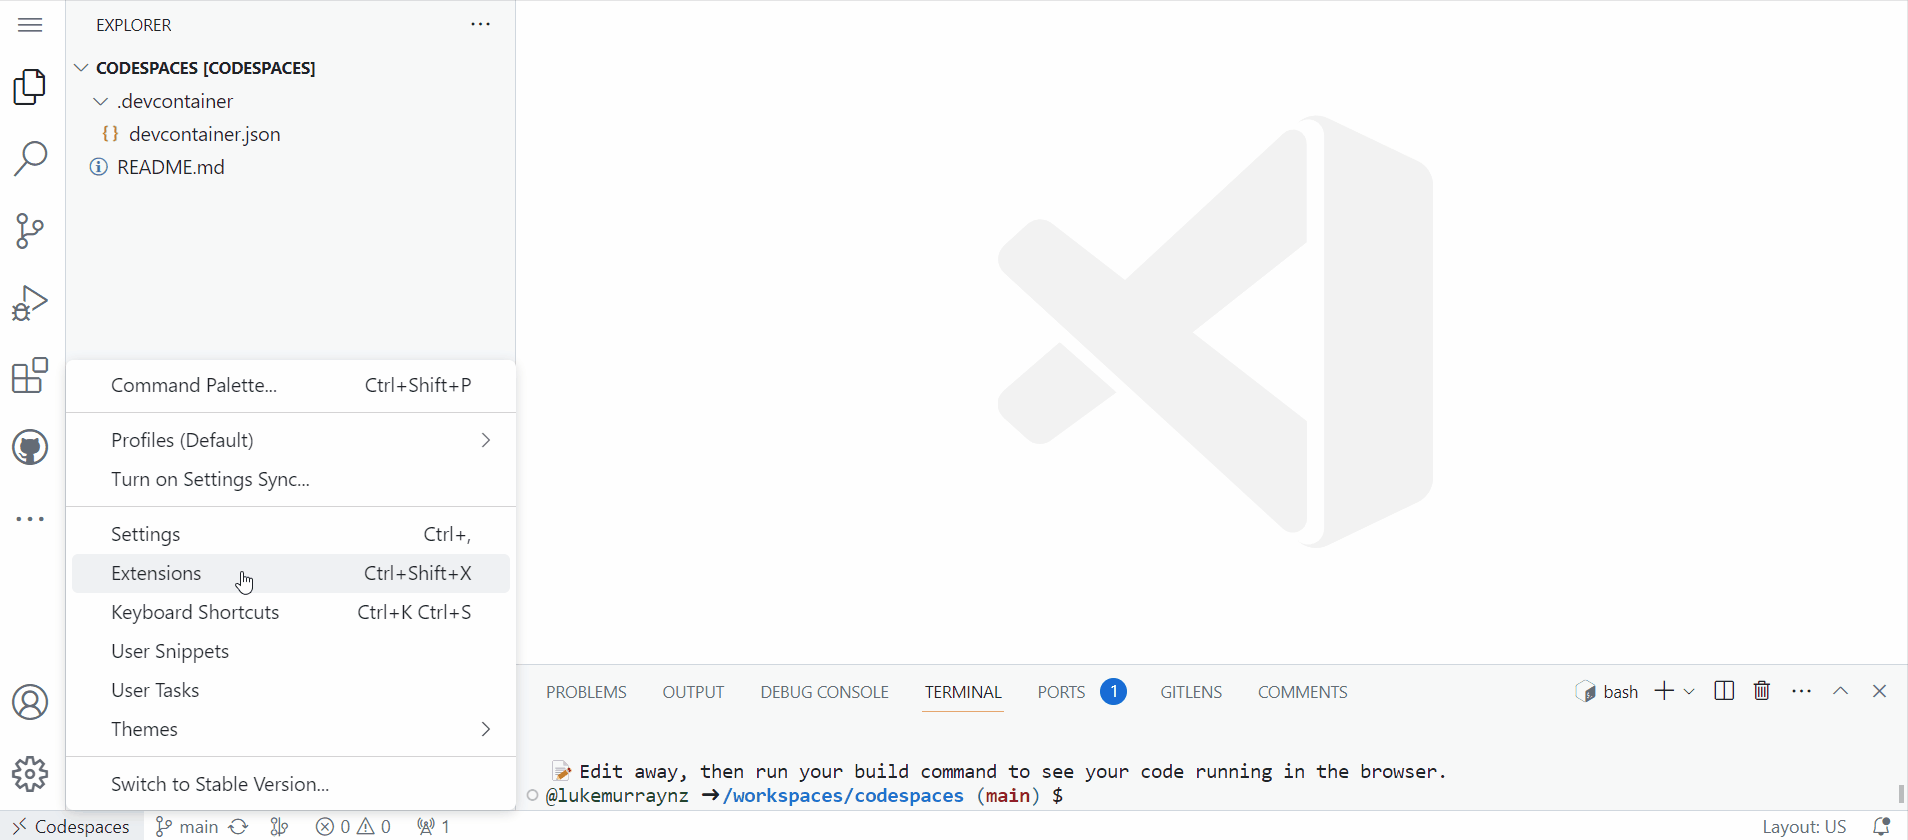
Now we have created our own Github Codespaces using devcontainers, using features and adding in extensions, last thing to add is a few settings to Visual Studio Code, such as Format on Save Mode.
-
Click on the Settings gear
-
Click Settings
-
Search for: Format
-
Click on the gear next to: Editor: Format On Save
-
Click Copy Setting ID
-
Navigate to your devcontainer.json file
-
Under vscode customization, add a new item called Settings and add:
"settings": {"editor.formatOnSave": true}, -
Intellisense should help you, add it in and any other settings you may want configured. you may want to consider configuring a default formatter or linter for your project.
As usual, make sure you Commit the change to the repository, before you rebuild to confirm the settings have worked.
dockerfile
For those more complex scenarios, where there may not be a feature or shellscript that you can run as part of the launch, you may want to consider your own dockerfile.
In this example, I am going to use the same scenario, but use a non-devcontainer image for Apache.
You can create a dockerfile in the same repository.
To make this work, you need an adjustment to your devcontainer.json file.
-
Create a new file called: dockerfile - in the same location as the 'devcontainer.json' file
-
In the dockerfile add the following line:
-
FROM httpd:latest
-
Save
-
In the devcontainer.json file replace the image section with:
"build": {// Path is relataive to the devcontainer.json file."dockerfile": "Dockerfile"}, -
Now start your Codespace
-
Github will now grab the image directly from dockerhub and overly your devcontainers configuration on top of it.
Port Forwarding
Github Codespaces can do port forwarding, which is either Private (ie visible only to your GitHub user), or Public (open to the internet). This is useful for local development and testing.
Let us take our Apache, httpd image supplied earlier.
In the same directory, we will create an index.html page:
<!DOCTYPE html>
<html lang="en">
<head>
    <meta charset="UTF-8">
    <meta name="viewport" content="width=device-width, initial-scale=1.0">
    <title>GitHub Codespace Port Forwarding Test</title>
</head>
<body>
    <h1>Hello, GitHub Codespaces!</h1>
    <p>This is a test webpage for port forwarding.</p>
</body>
</html>
And adjust the dockerfile like so:
FROM httpd:latest
COPY index.html /usr/local/apache2/htdocs
EXPOSE 80
This will take our index.html page and feed it to the apache htdocs folder.
Then we go to our devcontainer.json file and add these:
  "forwardPorts": ["80"],

  "postStartCommand": "httpd"
Now save the changes and launch your Codespace.
Feel free to review my example codespace here: lukemurraynz/codespaces.
Working from your own device
This is all great, but sometimes it feels more natural to work from a locally installed Visual Studio Code instance.
Using the: GitHub Codespaces Visual Studio Code extension, you can connect to a Codespace (or start one), directly from your own Visual Studio Code installation.
- Install GitHub Codespaces extension
- Press Ctrl+Shift+P (or click View, Command Palette)
- Type in Codespaces
- Click Connect to a Codespace
- Select your codespace
As you can see you can now connect to one or multiple GitHub Codespaces, from your own locally installed Visual Studio instance!
Additional Settings
Additional settings, that can be configured are:
- Setup Prebuild
- Codespace Secrets (Repo & Org Level)
- Dotfiles (Org Level) Organisation
- Configuring automatic deletion of your codespaces
Hopefully this article has given you a taste of what GitHub Codespaces can do.